5 Methods to Make Quilt Basting a Breeze
While quilt basting in the sewing room may be completely different from turkey basting in the kitchen, they are both critical for as successful end result. For new quilters, here is a brief definition: quilt “basting” is the technique that holds a “quilt sandwich” — the backing, batting, and quilt top — together while you quilt.
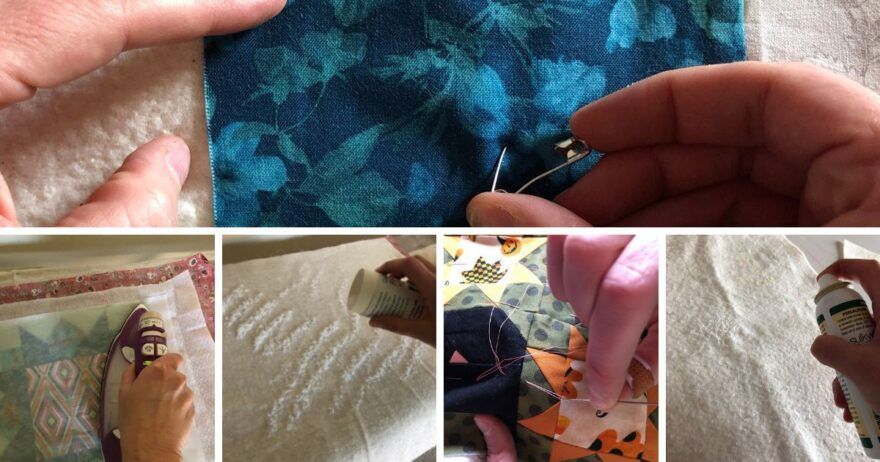
When done well, it should prevent wrinkling, bunching, or folding when you manipulate the sandwich beneath the needle. There are multiple ways to baste a quilt top. For this Technique Tuesday, I pulled several orphan blocks or small projects from the back of the closet, and paired them with five basting methods: with thread, safety pins, fusible spray, fusible powder, and fusible batting.
Let’s try them out!
1. Thread Basting
As far as I know, this basting method (also used in garment sewing) is the oldest. With needle and thread, you sew large-ish, loose running stitches to hold layers in place. Once the layers are sewn, the basting thread is clipped and removed.
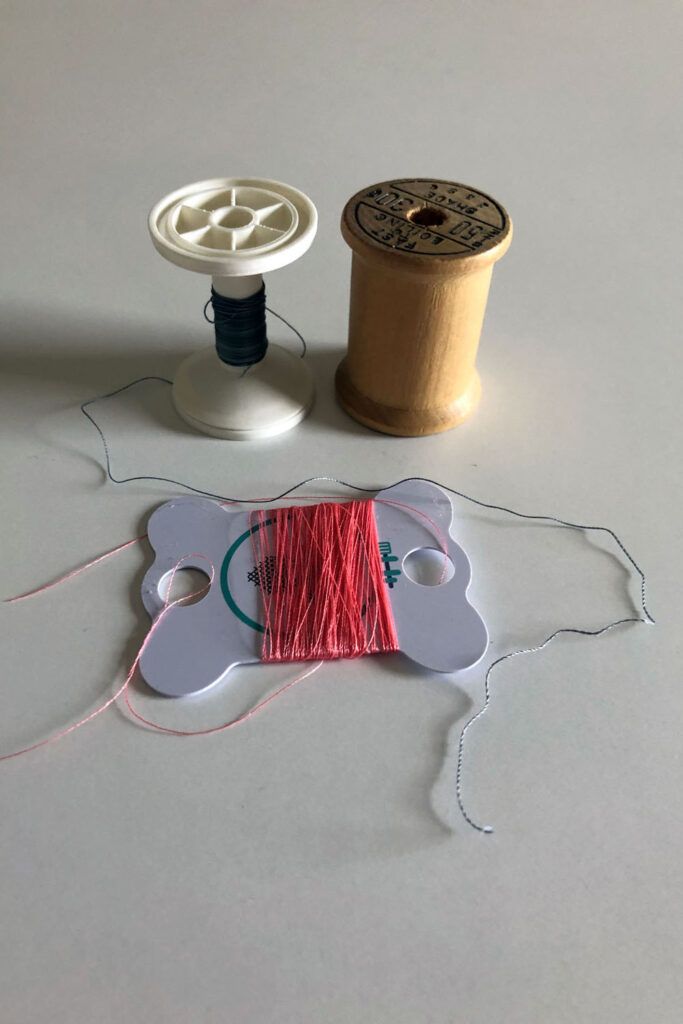
I like to use leftover thread for this, such as that neon pink quilting thread I will likely never use again or that remnant bobbin thread. And thread basting, to me, is the only acceptable place to use that old, vintage thread your well-meaning relative found at a garage sale and thought would be perfect for you. Like all fibers, thread ages, and it becomes more fragile. If you have vintage thread on a wooden bobbin, odds are it’s not in the best shapes for general use. It can still serve a purpose, though, either as fantastic sewing room décor, or for temporary basting!
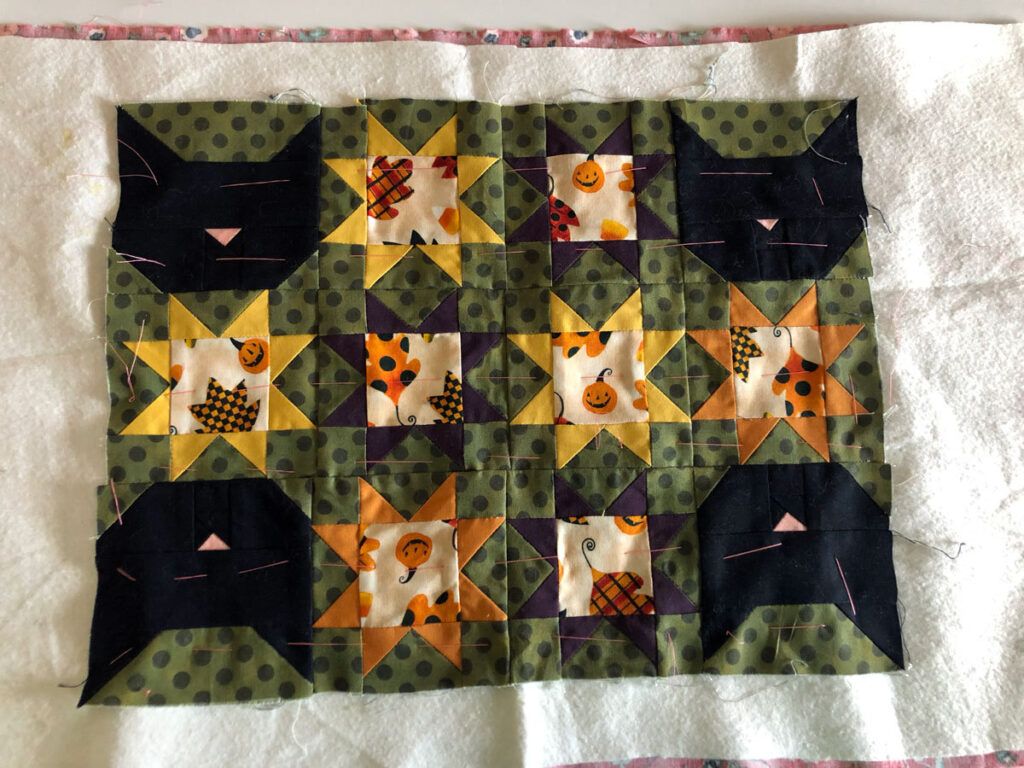
I paired this technique with my Halloween cat placemat from the Bitty Boo challenge, figuring I could navigate its bulky seams best with a needle. (That was a fun project, and has been in my closet for some time now!).
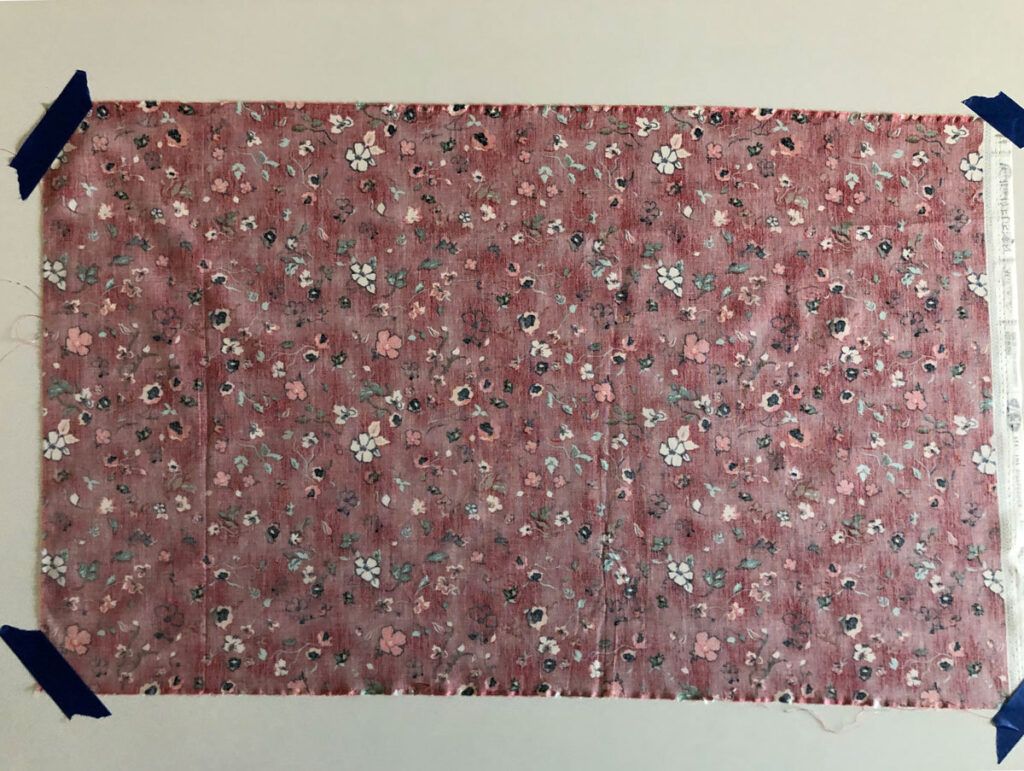
First, I secured the pressed backing to a flat surface—wrong-side up—using painter’s tape. (For big quilts, I do this on the swept and mopped kitchen floor).
Next, I layer on the batting, smoothing it flat over the backing. Both backing and backing are larger around than the top; I generally aim for about 4 inches larger all around. This is necessary for when working on a frame, and generally just helpful for positioning your quilt top.
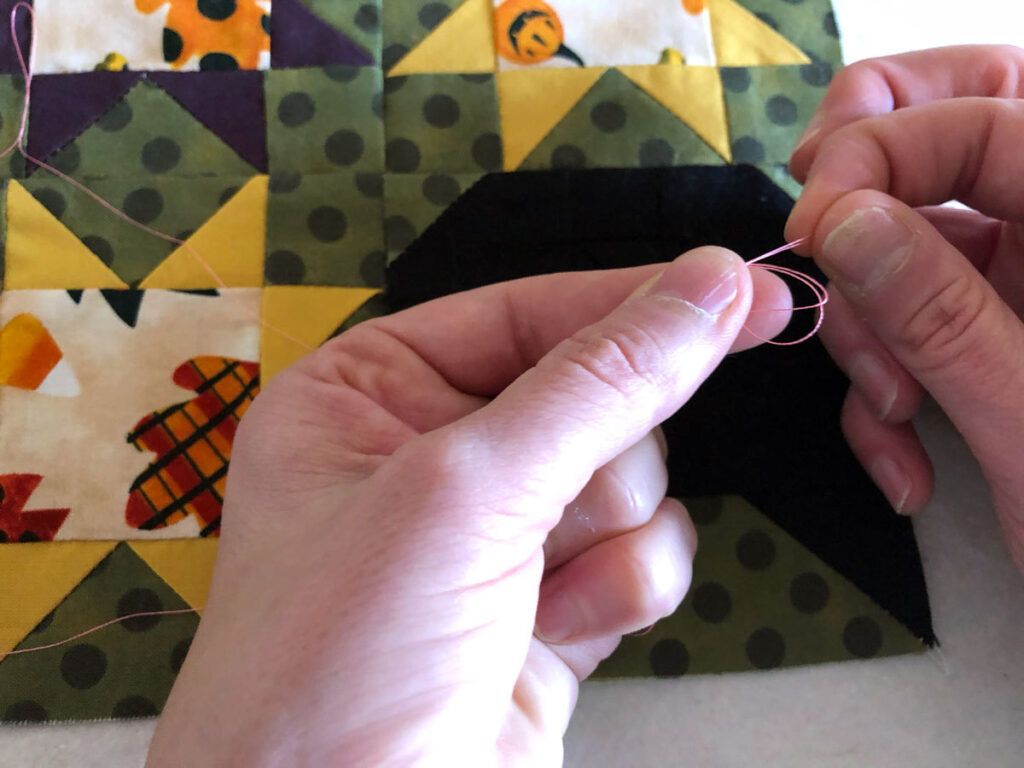
For the thread basting, the goal is to have just enough stitching to secure the layers. I used a longer needle with a bigger eye because this isn’t fine work. I learned to baste with a double-length of thread, square-knotted at the start, about as long my forearm. You don’t want to re-thread often, but something too long will tangle easily.
I keep my stitches about a needle-length (another benefit of a longer needle!), and try to run a row of stitches a few inches apart, square-knotting when I’ve come the end of my thread.
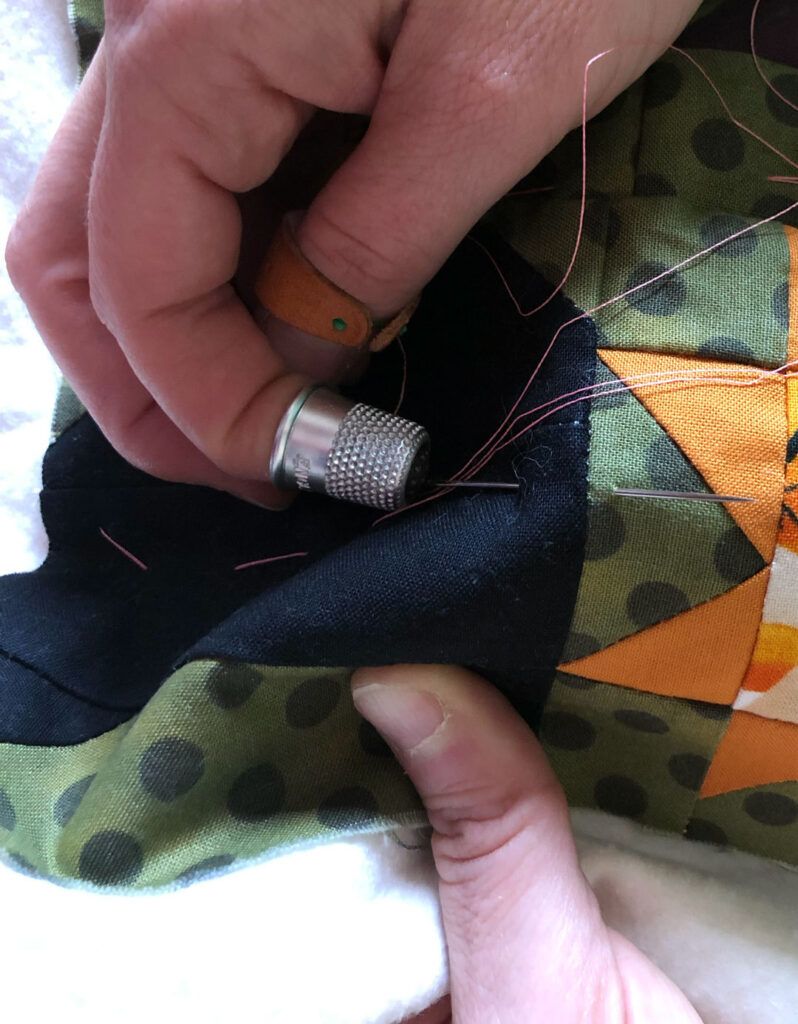
I did not enjoy thread basting this small top. The needle may have been too dull for the task. I had to push through some of the dense seams (so grateful for my thimble!), making me wonder if another basting method would’ve worked better.
Pros: It’s thrifty! If you own a needle and thimble, and have leftover thread, you spend nothing. This approach is entirely chemical-free. It also works with every type of batting. When quilting, you can stitch right over the basting threads, but they’re still relatively easy to remove at the end with a simple, satisfying snip-and-tug. This method is just fine for every style for quilting — from a longarm on a frame, to your sewing machine on the kitchen table, to a hand-quilting in a lap hoop on the couch.
Cons: It is time-consuming. (And, to me anyway, really boring.) Even with a thimble and a sharp needle, stabbing through dense seams will make you a quick convert to pressing your seams open. I also find it’s easy to introduce wrinkles and tucks during the quilting process; not the most secure method.
2. Pin Basting
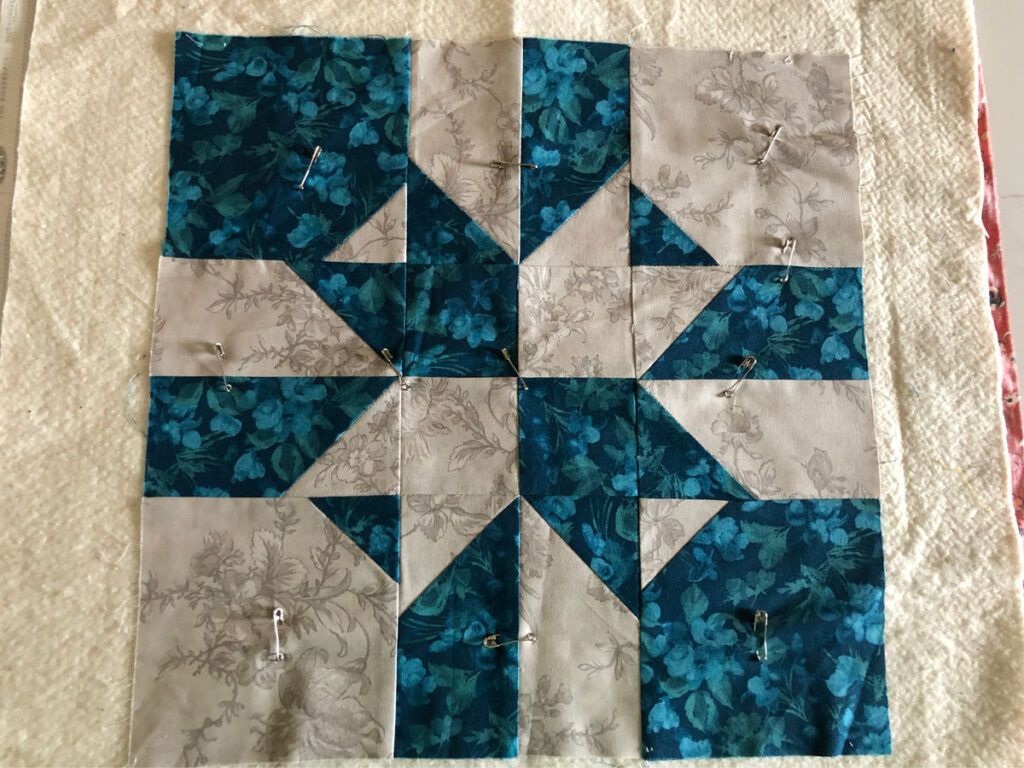
This has generally been my personal, go-to method for quilt basting. For this Technique Tuesday, I paired it with a leftover disappearing hourglass block from Episode 3513: Presto! of Love of Quilting.
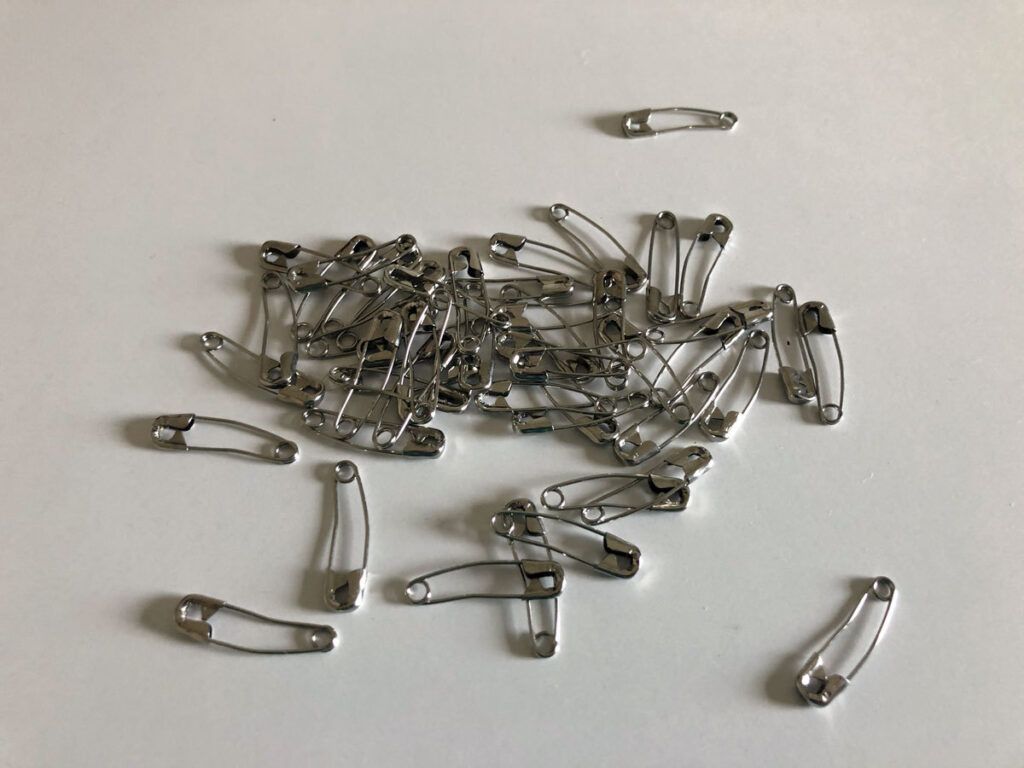
First I use painter’s tape again to secure the backing wrong-side up, then layer on my batting and my quilt top. Next, using curved basting pins designed for quilters, I pin every few inches. I do not recommend using standard, straight safety pins, nor do I recommend straight pins.
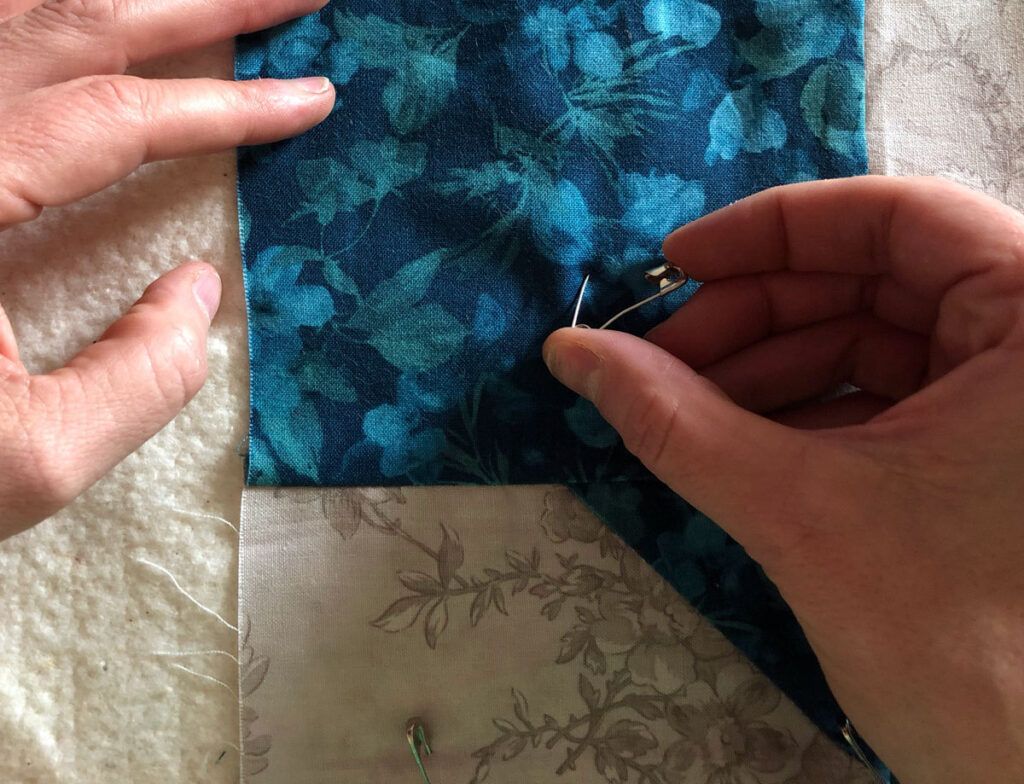
Quilter’s basting pins allow you to safety-pin a flat item without shifting it too much. They’re a little strange-looking, but work like a charm. (My sister once borrowed a box from me, thinking they were regular safety pins. She later called to ask, “Vanessa…are you really angry about something?” That still makes me giggle).
Pros: This is a very economical approach, since you can re-use these pins forever. The pins are relatively inexpensive and easy-to-find at most craft or fabric stores. They’re obviously chemical-free. And, unlike thread basting, it’s easy to re-position these. They work on any batting. It’s a relatively simple process to baste with these.
Cons: It’s cumbersome to pin-baste a bed-sized quilt. I’m generally over it about halfway through, after crawling around on the kitchen floor and inadvertently kneeling on those hard pins. Though curved, opening and closing all those pins can still hurt your fingertips after a while. (There are pin-closing tools, but I haven’t had much luck with them.) I still get folds and wrinkles on the backing, and have experienced some shifting.
This is not a good method for frame-based quilting (hand or machine), since the safety pins will get in the way when locking the frame. They can also get in the way when using quilting rulers. On any machine, you will also have to stop to remove pins before they reach the needle, unless you have a clear quilting plan and pin strategically. (In which case, hat’s off to you! I tend to be a little more, umm, impulsive.) And you’re still going to have to remove every single pin once you’re done quilting.
3. Spray Basting
I’ve avoided spray basting, because there’s just something about chemicals in the air that unnerves me. Do I need to have a garage to do this? What if it’s cold outside? Should I wear a mask?
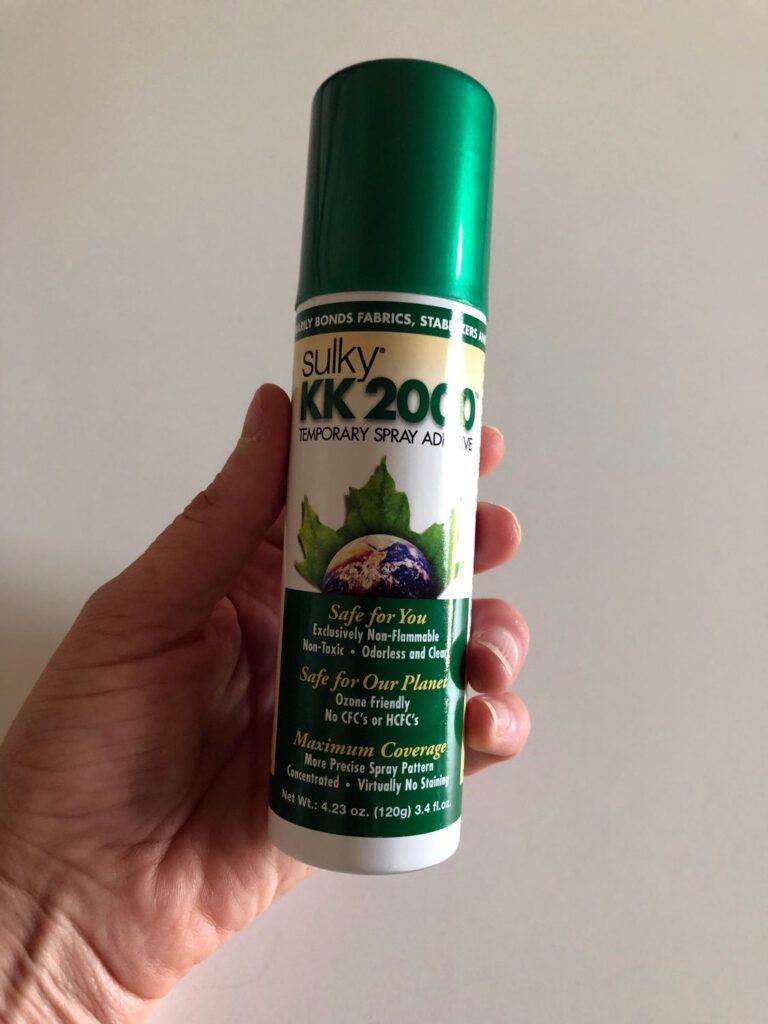
There are quite a few brands out there, which alone is confusing. Based on a co-worker’s glowing recommendation, I decided to test Sulky’s KK 2000 temporary spray adhesive. She has found that is has significantly less ‘over-spray’ than other brands, and is less fume-y. She assured me that it is absolutely safe to use indoors. Another co-worker, who uses the same brand, says she finds it less gunky than other adhesive sprays.
I taped the backing down, layered on the quilt batting, and then sprayed.
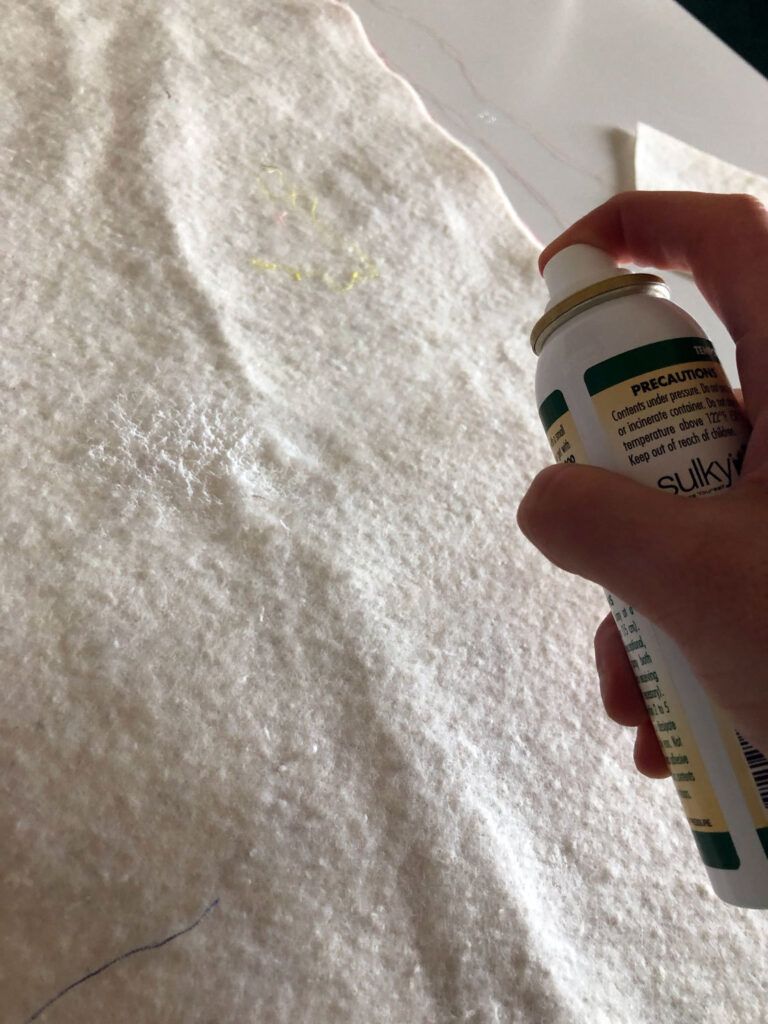
I still held my breath while spraying, which is probably ridiculous. I held the bottle about 6 inches for the surface and gave it a relatively even coating of the glue. Then I carefully positioned the quilt top (a leftover block from Amanda Murphy’s Frolic in the Rain Quilt-Along!) and applied pressure with my hands to adhere it.
The instructions said you should only spray the glue on one layer, which I misinterpreted to mean I should only spray the top or the backing. In fact, what it likely meant was you don’t have to spray, say, the backing and the batting. One layer of glue is enough the adhere two surfaces together.
Two of my co-workers confirmed that they spray the backing fabric, lay down batting, spray the batting, and lay down the quilt top. Which, in retrospect, is totally logical and I wouldn’t be left wondering how I’m supposed to keep the backing secure (d’oh)! The end result, though, was smooth. The glue formed a secure bond with no shifting, but I still could peel the top up and reposition. Hmm.
Pros: This was FAST, and honestly kind of fun. The resulting quilt sandwich was smooth and secure, but it was still possible to reposition. This brand promises not to gum up the needle while quilting (we’ll see!). There’s obviously no removal involved, so when you’re done quilting, you just need to bind! It washes well, and works with every type of batting and style of quilting.
Cons: Even though this brand wasn’t too fume-y, you’re still spraying chemicals in the air, which creeps me out. And at $20-ish for a 4.2 ounce bottle, this is not a thrifty option.
4. Fusible Powder
I discovered Quilter’s Select Free Fuse semi-permanent fusible powder from a product review we filmed here. I used it for some appliqué on a baby quilt, and liked the results, but this is my first foray into full-on quilt basting.
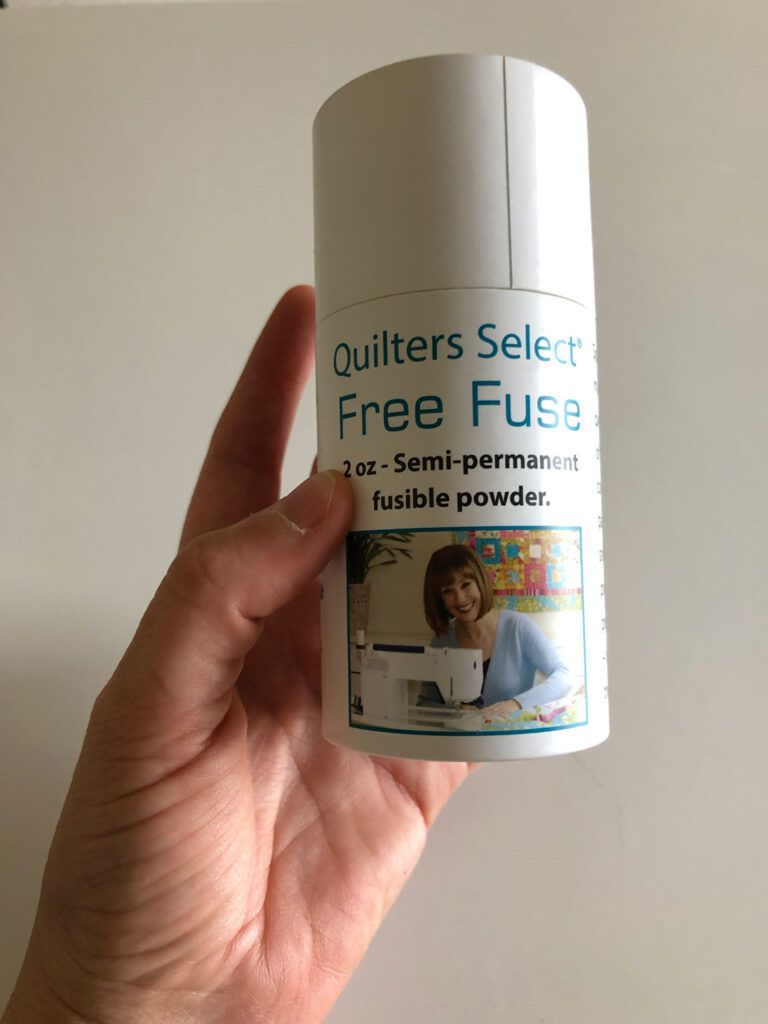
This product is essentially a glue powder. I’m not sure if there are other brands out there, but this one comes in a salt shaker-like container.
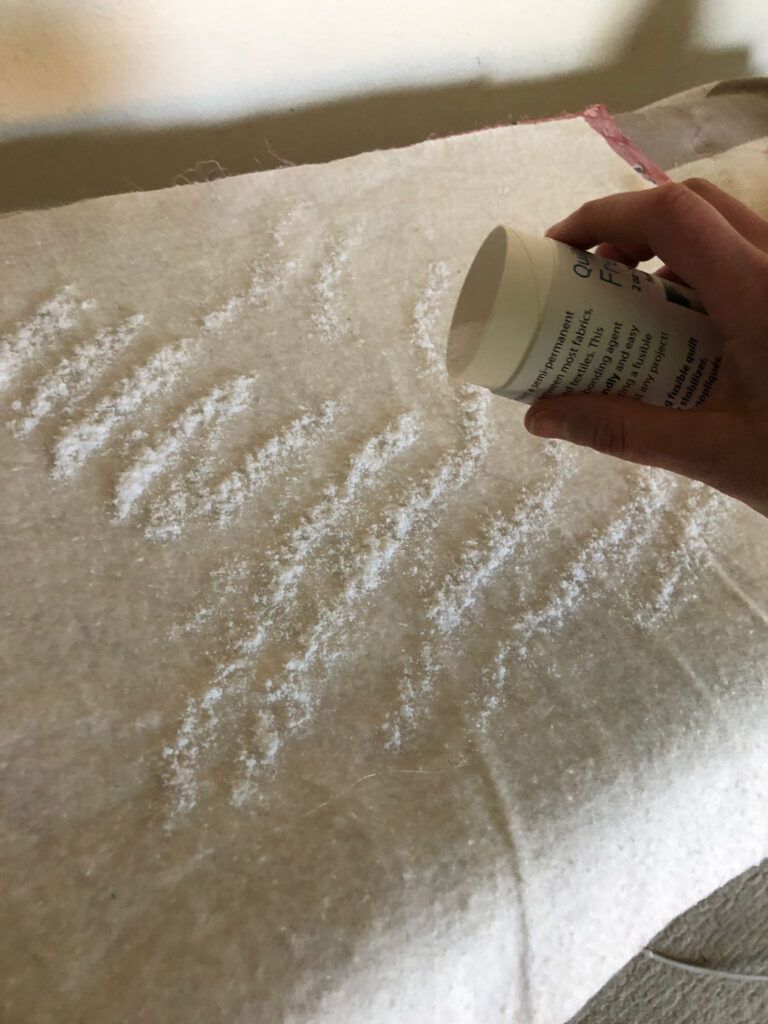
I switched up my sandwiching technique here. I laid the batting evenly over my ironing board, sprinkled on the powder, smoothed the backing (right side up) over the batting, and fused the layers together using my iron’s medium setting and no steam. (For a larger quilt, I expect you’d fuse, advance the batting and backing, apply powder, fuse, advance, etc.)
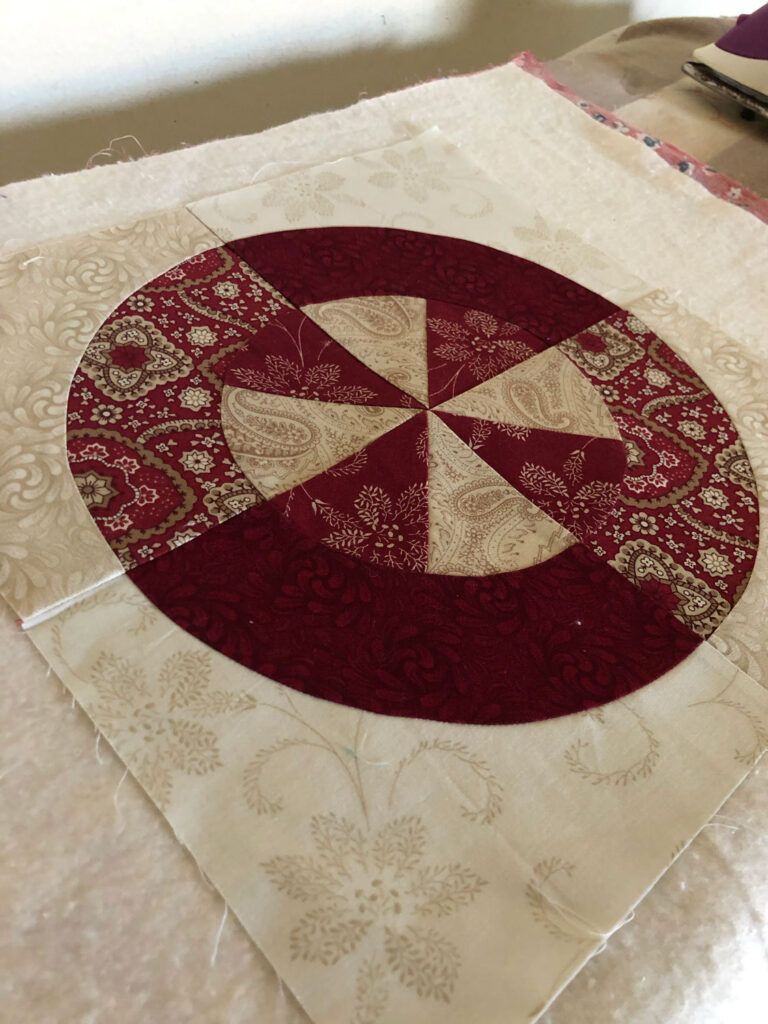
Next, I flipped it all over, sprinkled powder, positioned my top (a leftover test block from Rouge Roundabout), and fused. Because I still wanted the backing and batting about 4 inches larger all around, starting with the backing would make it easier to position the quilt top.
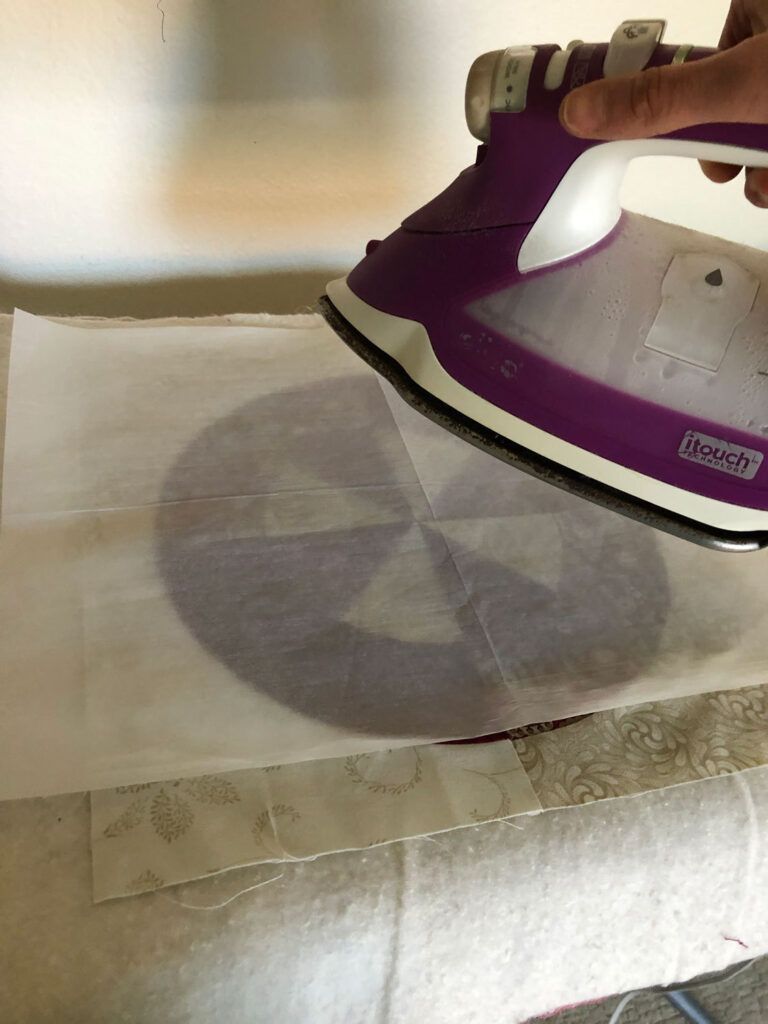
The white powder is a little hard to see on white or off-white. Because I might’ve over-sprinkled and I didn’t want glue on my iron, I spent about 10 minutes looking for my Teflon appliqué pressing sheet before giving up and getting parchment paper from the kitchen, which worked just fine. (Then I found my appliqué sheet when I went to put away the fusible powder. Well, that’s life for you.)
In the end, it feels a little crunchy, but is smooth and secure, and washes out fine!
Pros: This is definitely less tedious than pin-basting or thread-basting. (I generally don’t mind ironing, though.) You don’t need to remove anything during or after quilting. When you’ve finished stitching, just bind and wash! This should work for every type of batting (although I wonder about really puffy wool) and every type of quilting (the crunchiness might feel off-putting to hand quilters). No wrinkles, folds, or bunches; a very smooth and secure basted quilt sandwich!
Cons: It can be a little finicky to apply the powder evenly. At anywhere from $17.99 to $24.99, it’s not the thriftiest option. And do I really want to “powder” a queen-sized batting and press all that…? While it’s not a spray, the fusible powder is still a chemical-based glue.
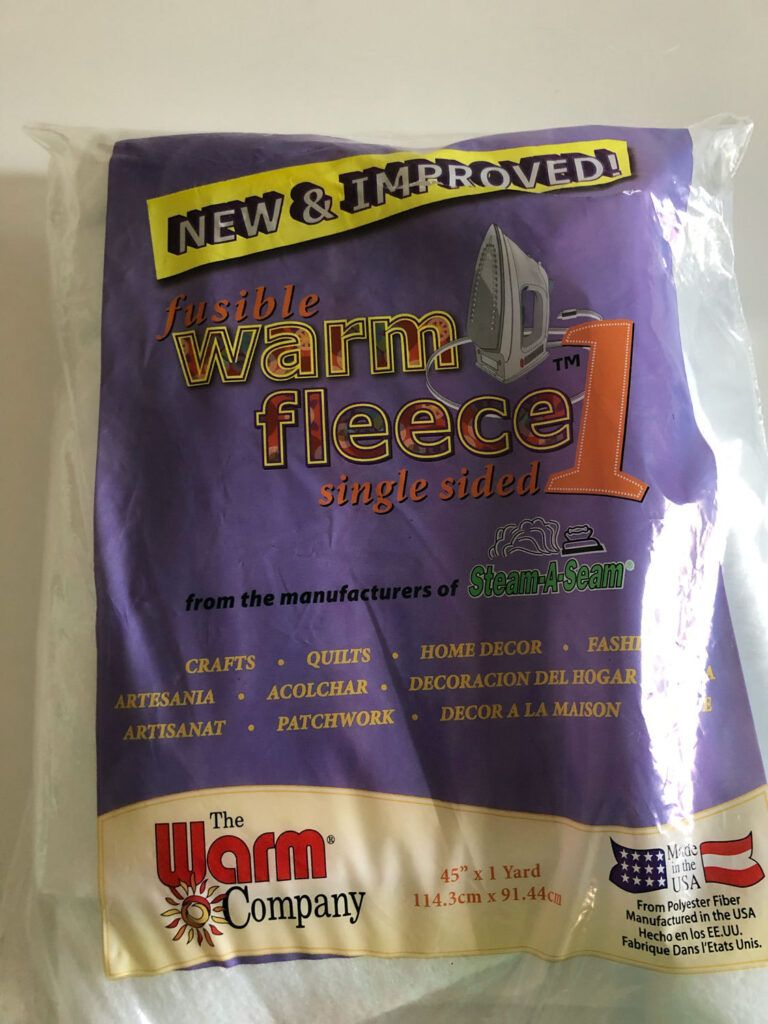
5. Fusible Batting
I didn’t have the double-side fusible batting, which is a shame, but this Fusible Warm Fleece 1-Sided from the Warm Company was still pretty great.
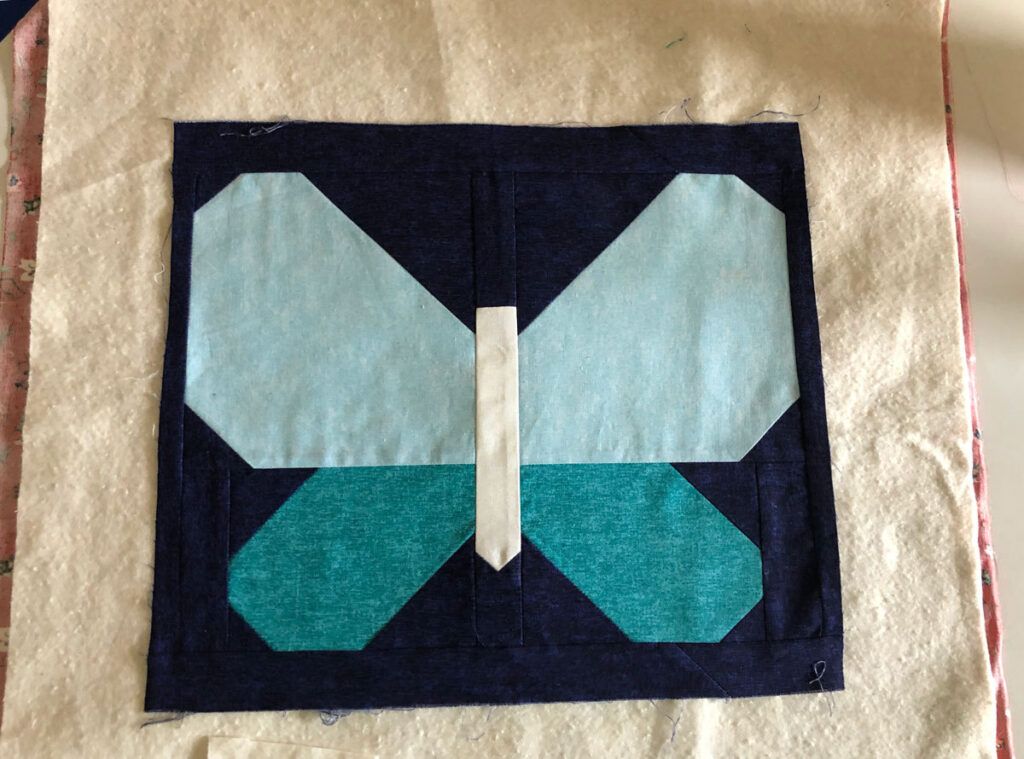
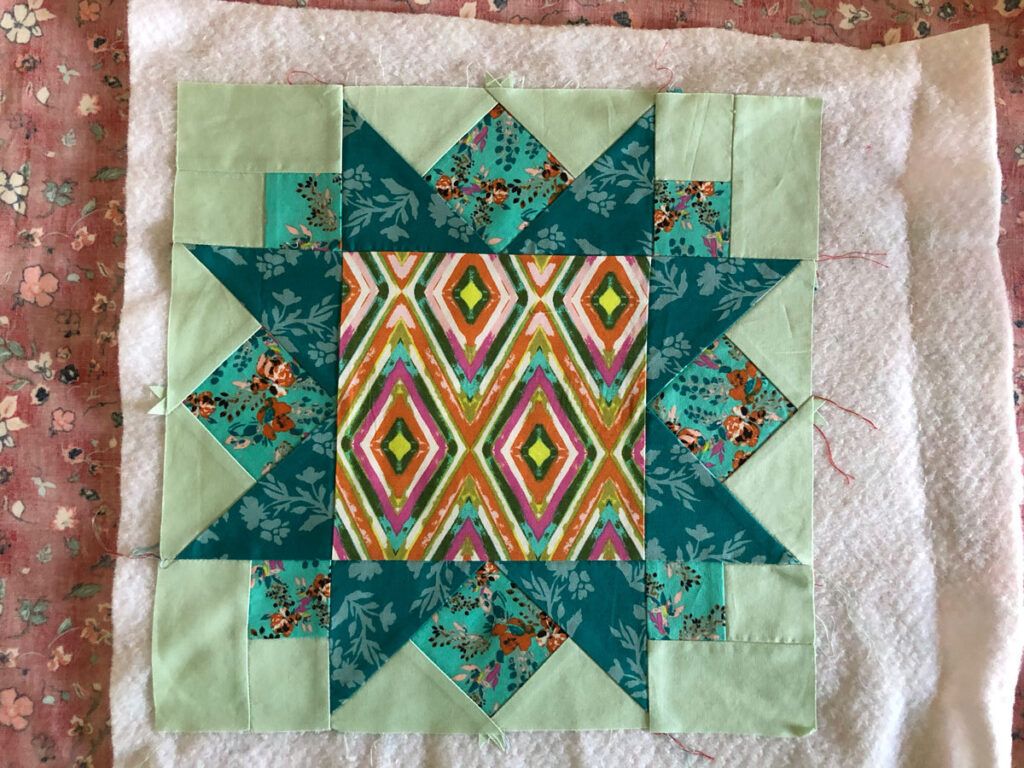
For the quilt sandwich, I laid the batting on the ironing board with the glue side up, and then positioned the quilt top (a leftover block from Love of Quilting Episode 3405: Mayday Festival). I placed the parchment sheet over top to prevent glue from getting on my iron, and pressed.
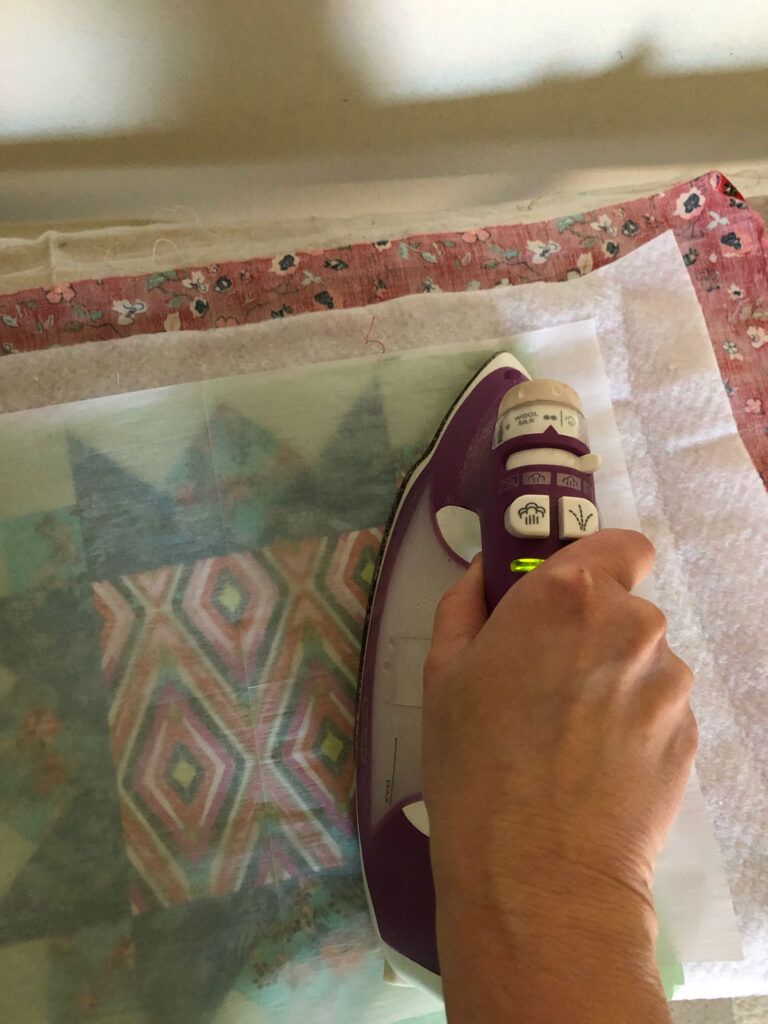
The packaging did not mention a specific iron setting; medium, non-steam seemed to work just fine. Because it was single-sided, I had to figure out what to do with the backing, but the fused top was totally secure and absolutely smooth.
The package of batting from Warm was 45” x 36”. There are other brands and sizes out there. Hobbs Heirloom, for example, has an 80/20 fusible batting that comes in baby-sized packages, queen-sized packages, and on rolls.
Pros: This method is dead simple, and creates a nice, smooth bond. At $35-$40 for a queen-sized batting, it’s not actually too pricey, about on par with the non-fusible battings. There are no worries about quilting around pins. When you’re done, it’s another case of bind, wash, and go! It isn’t as crunchy as the basting powder, claims not to gum up your needle (I’d agree), and washes out to feel like a ‘normal’ batting. It works with frame quilting (both hand and machine), and is fine-and-dandy on a sit-down machine.
Cons: You’re still dealing with glues and chemicals, even if it’s not airborne. If you dislike pressing, you’ll hate working on anything bigger than a baby quilt. Also, you’re confined to the fiber-type of batting offered; I haven’t seen 100% cotton and wool on the market, and I don’t think there’s any black fusible batting out there, but who knows what the future will bring?
Which Quilt Basting Method Will You Choose?
Personally, after twenty some odd years of avoiding it, I’m sort of stunned at how convenient, secure, and simple the spray basting was. Despite my hesitation about spraying glue in the air, I will definitely be using this method to baste my next bed-sized quilt top.
I have to say, though, that being familiar with all the different quilt basting options is helpful. I might not enjoy thread basting, for example, but knowing how to do it means I’ll never be held up if I run out of spray baste or my sister borrows all of my “angry” safety pins without telling me.
A lot of the fusible-style basting, where you stand at the ironing board, appeals to quilters with arthritis or bad knees, so I like knowing that I’ll have options down the road, as well.
As always, it comes down to a matter of personal preference and comfort. Choose the method that works best for you and brings you joy in quilting!
This article contains affiliate links that helps us earn a small commission from purchases — at no additional cost to you.


Thanks for a terrific, in-depth article. This one’s a keeper. Your personal notes and pros and cons are incredibly helpful!
Yay! I’m so glad you found it helpful!
You skipped my favorite method of basting: use a basting gun and clips. I use a fine fabric gun and needles designed to be used even with silk. I place the tacks by penetrating the fabric and returning to the surface just as you would with safety pins. Using this method, you do not get shifting of fabric and batting layers. You can stitch closer to them than safety pins, remove them easily with a stitch ripper even when needle is in the fabric very close to them, and put them in the quilt much faster than any style safety pin. Since they are small, I can often place them in areas I intend to leave stitch free and remove them from the back side when quilting is done. If I interrupt a quilt before the quilt stitching is done, there is never a worry about marring or staining the fabric in any way. With the fine fabric version, the hole is smaller than from a safety pin and can be closed by rubbing across the area with thumbnail or the back side of the stitch ripper.
You know, I’m not familiar with that approach. It sounds fantastic! OK, going on the must-try list.