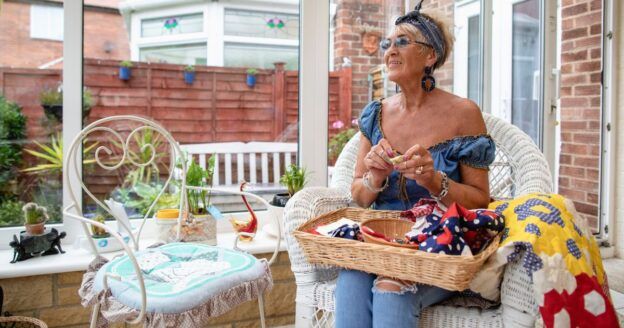
How to Dye Fabric Parfait Style

Do you want to learn how to dye fabric? Then try making a fabric parfait — a beautiful layering of ice, dye, and fabric that creates fun and funky results as the ice melts into the dye. Carol Luddington shows us how — read on for parfait dyeing instructions
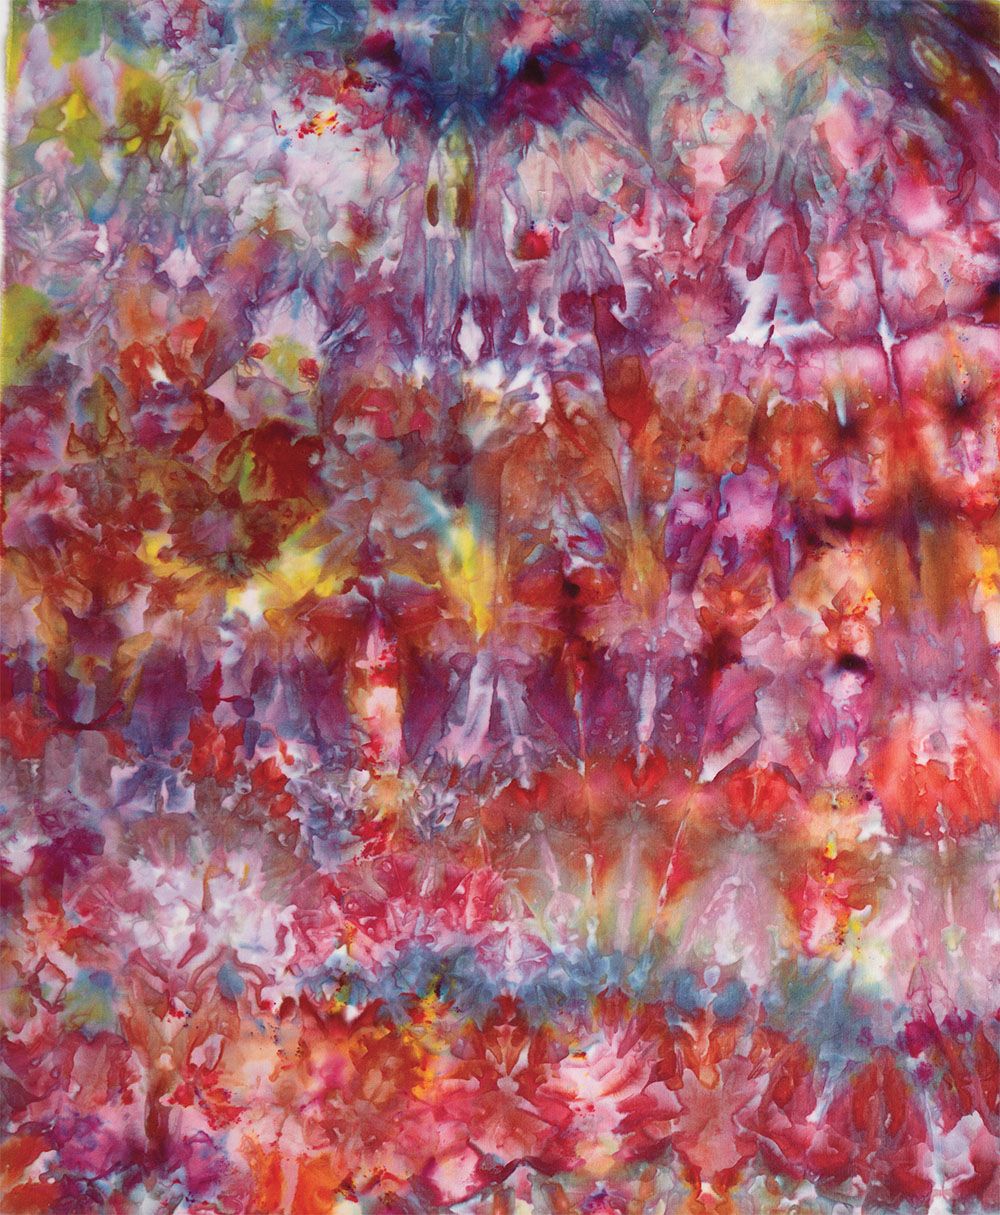
Experimenting with New Techniques in My Dye Studio.
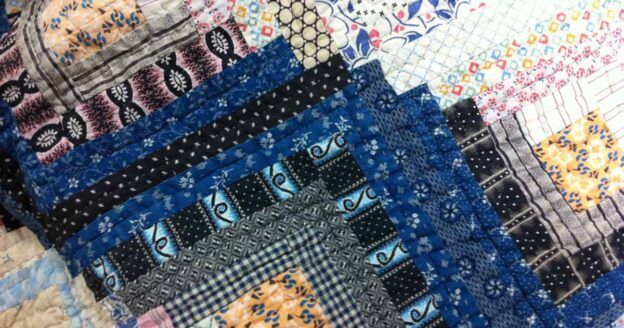
Each experiment yields different patterns and interesting color combinations. My favorite hand-dyed fabrics have lots of movement and texture, and have been the result of snow dyeing, parfait dyeing, and ice dyeing. I like the way each of these techniques yields vibrant color and unexpected patterns, while being relatively simple to do in the small space of my studio.
I wanted to find a way to combine the best of these techniques and create my own fabrics. The result is what I call my “iced-parfait” technique; it allows me to dye multiple pieces of fabric simultaneously and achieve gorgeous combinations of vibrant color. I was first inspired to try ice dyeing after seeing Lynda Heines’ article in the August/September 2011 issue of Quilting Arts Magazine.
Materials
Note: All supplies must be dedicated to nonfood use.
✓
Cotton PFD (prepared-for-dyeing) fabric, 6 fat quarters
✓
Soda ash
✓
Procion® MX dyes, 2 oz. each of at least 3 different colors
✓
5 pound bag of ice cubes
✓
Tall container such as a narrow bucket or vase
✓
Dust mask and rubber gloves
✓
Measuring cup
✓
Measuring spoons
✓
Plastic dishpan
✓
Container to hold clear water for rinsing gloves
✓
Plastic drop cloth to protect your work area
✓
Paper towels or newspaper
Directions
Parfait ice-dyed fabric is made by layering fabric, ice, and powdered dye in a container and allowing the process to take place slowly as the ice melts. The results from each layer you create will be unique and depend on how tightly you pack the fabric, the amount of powdered dye you use, and the serendipity of your dye bath.

1
Set up your work space by covering the area with a plastic drop cloth, and gather all of your supplies. Be prepared to catch any stray bits of dye that may get away from you with moist paper towels.
2
In a large dishpan, mix 1 cup of soda ash with 2 gallons of hot water. Mix the ingredients thoroughly with gloved hands. Soak the fabric in the soda ash solution for 30 minutes.
3
Prepare an area on your workspace to manipulate the fabric before placing it in the dyeing container. It’s easiest to fold, scrunch, and twist the fabric on a plastic-covered surface where the liquid can be contained.
4
Wearing rubber gloves and a mask, remove a piece of fabric from the soda ash solution and squeeze out the excess liquid over the container. Place the fabric on the open area of your plastic and scrunch, pleat, fold, or twist it as you desire. Place it on the bottom of the tall container, and then cover the fabric with a single layer of ice cubes.
Tip: Make loose folds rather than tight folds. Otherwise the dyes won’t penetrate the fabric and large areas will remain uncolored.

Caution! Always wear a dust mask and gloves when working with powdered dyes.
5
Dip a measuring spoon into one of the dry dyes and gently tap, sprinkle, or shake the dye randomly over the ice. (I used 1/8–1/4 teaspoon per application.) Try to avoid sprinkling clumps or making large thick areas of one color. Repeat with another dye color or two of your choice, being sure to use a new spoon for each color.
6
Rinse your gloved hands in a container dedicated for glove rinsing before proceeding. Traces of dye on your gloves will mark the next fabric if you are not careful.
7
Continue wringing out the fabric, manipulating and layering it, covering it with ice cubes, and sprinkling on the dye. Add as many layers as you can comfortably fit in the container. Remember to leave some room at the top for the melting ice. My container accommodated 6 layers, but others might hold more or less.

8
Cover the top of the container with a piece of plastic or a towel and set it out of the way for 24 hours. Place the container in another vessel to catch any liquid that might overflow as the ice melts. You may peek, but don’t touch!
9
Remove each piece of fabric from the dye bath and rinse it in cool water until the water runs clear. I also soak my fabric in hot water with Synthrapol, following the manufacturer’s directions, to remove the soda ash.
10
Wash the fabric in hot water on a short cycle. The fabric may be placed in the dryer or hung on the line to dry. Iron the fabric and admire your work.

Carol’s Tips for Colorful Fabrics
✓
Experiment by varying the amount of dye used. Using less dye produces lighter colors. A heavier application of dye results in darker coloring and more intense patterns.
✓
Dye thread at the same time. Tuck a hank of embroidery floss or perle cotton in with the fabric, making a coordinated fabric and thread combination.
✓
Consider over-dyeing printed commercial fabric or previously hand-dyed fabrics that need an extra boost of color or pattern.
✓
Try out different color combinations of dye or mix several dyes together to get unique results.

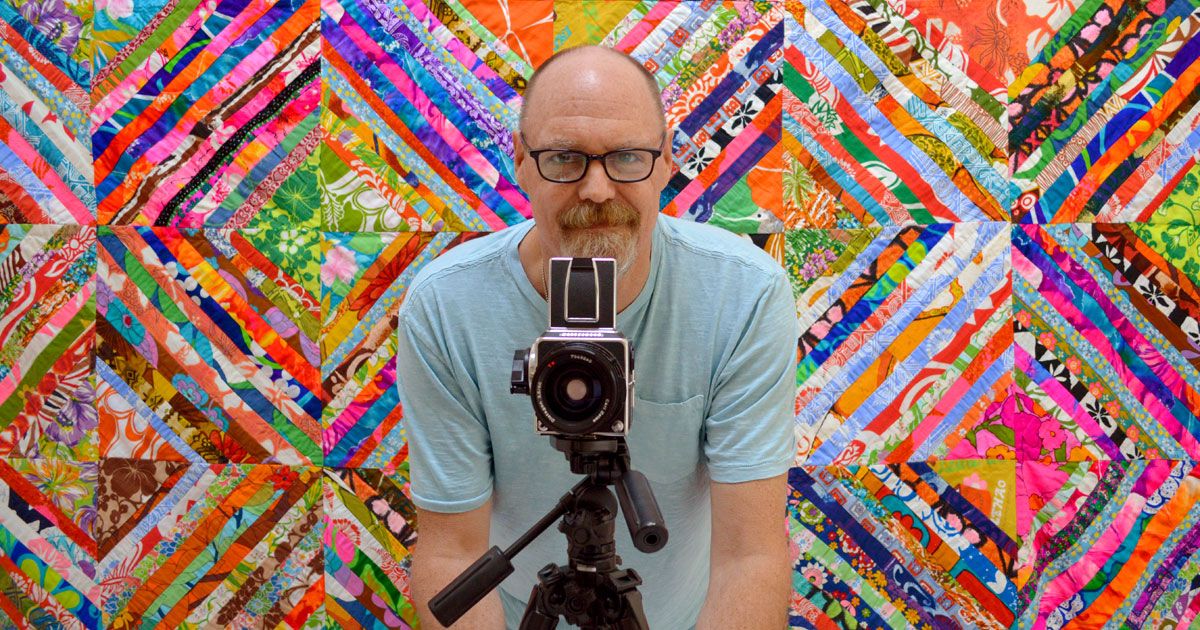
About the Author
Carol Luddington has been quilting for 40 years and has taught many students the ins and outs of appliqué and piecing. Carol lives in Connecticut, where she loves to experiment with painting, stamping, and all forms of dyeing fabric.
So why not resolve to try new techniques this year? You can find lots of fun new techniques in Quilting Arts Magazine! Check out this eBook for more tips and tricks on ice dyeing with master dyer Cindy Lohbeck.
Get started dyeing fabric with these great resources:


Join the Conversation!