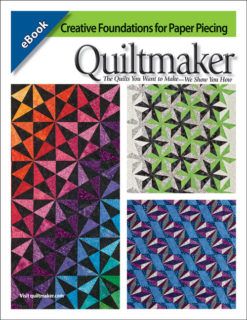
Foundation Paper Piecing Made Easy!
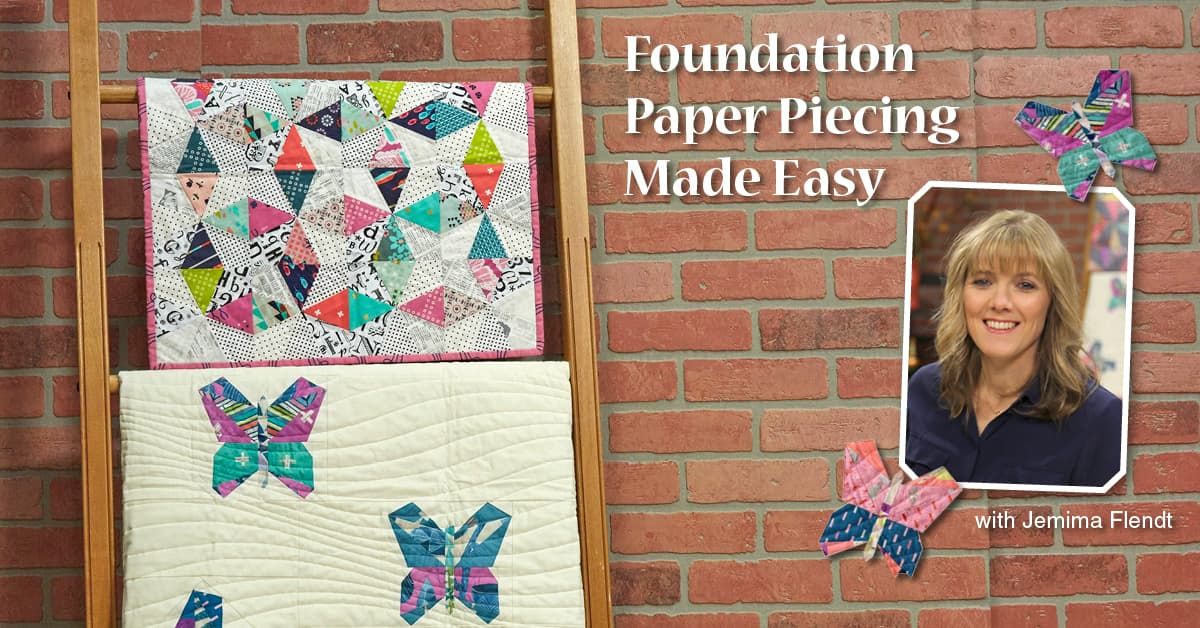
Foundation Paper Piecing (FPP) can be a tricky quilting skill to learn. This method is great when you are wanting precise and accurate points in your quilting which is achieved by sewing to a “Paper Foundation”.
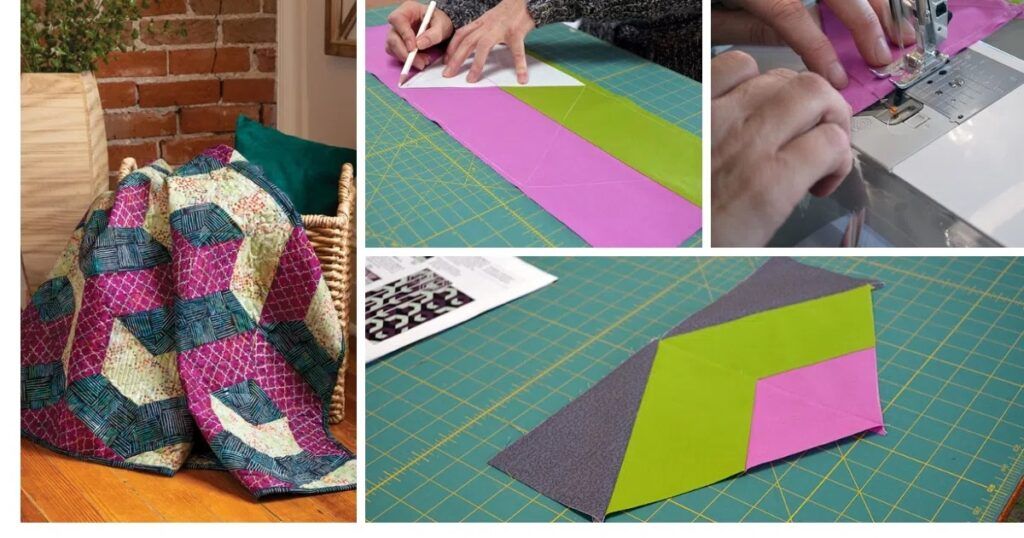
This 7-lesson Foundation Paper Piecing Made Easy online workshop will guide you through the important tools you’ll need to get started and master the FPP technique. You’ll learn the “process” behind FPP and how to move through each step to make your blocks for the stunning course project, the Sparkle lap quilt. You’ll learn all the different ways to change up the look of your FPP block to create many different looks for your own Sparkle quilt.
After you have finished your quilt top, Jemima will take you through her method of basting your quilt, and she’ll offer some machine quilting ideas. Jemima will also share her unique and easy method to bind your quilt.
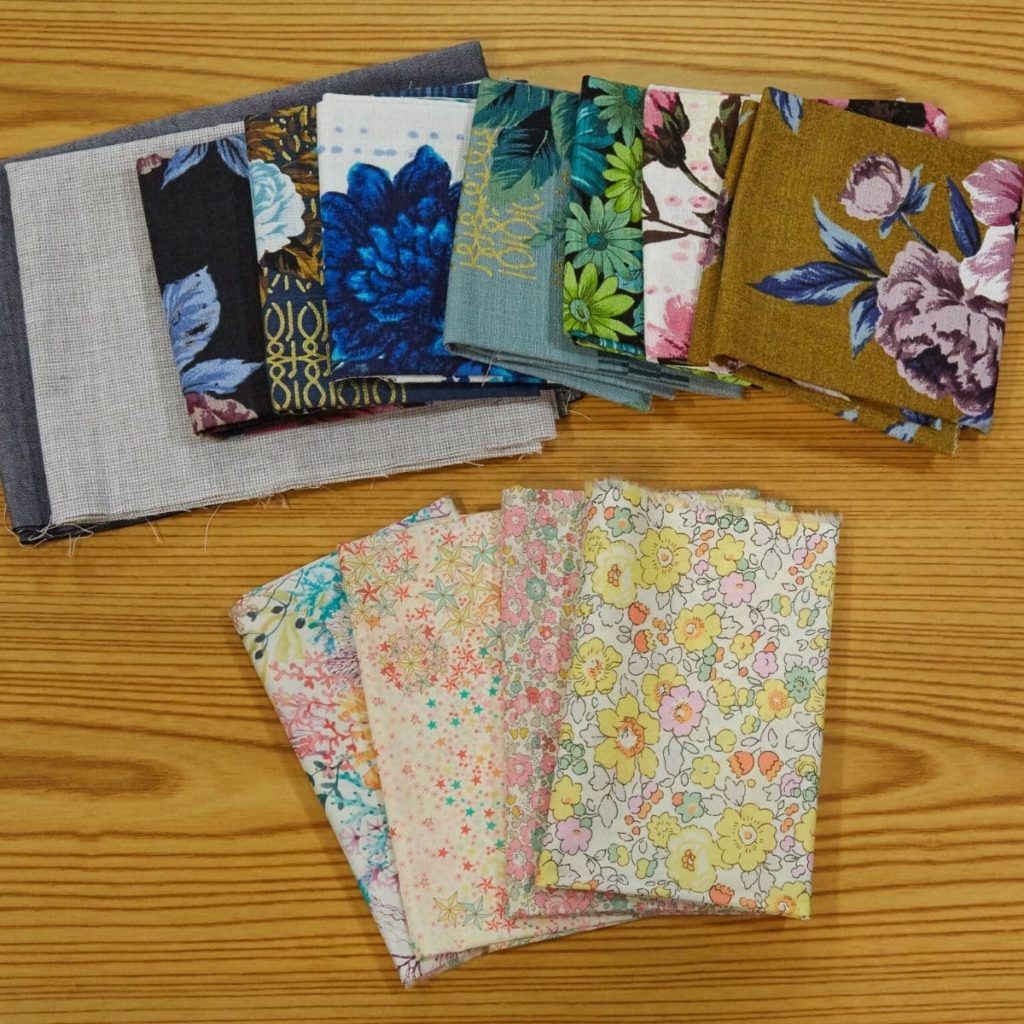
Quilting with cotton fabric is great, but Jemima uses all kinds of fabric from denim, chambray, linen to lawn. She’ll show you first-hand how different kinds of fabrics can create a whole new look for your quilts.
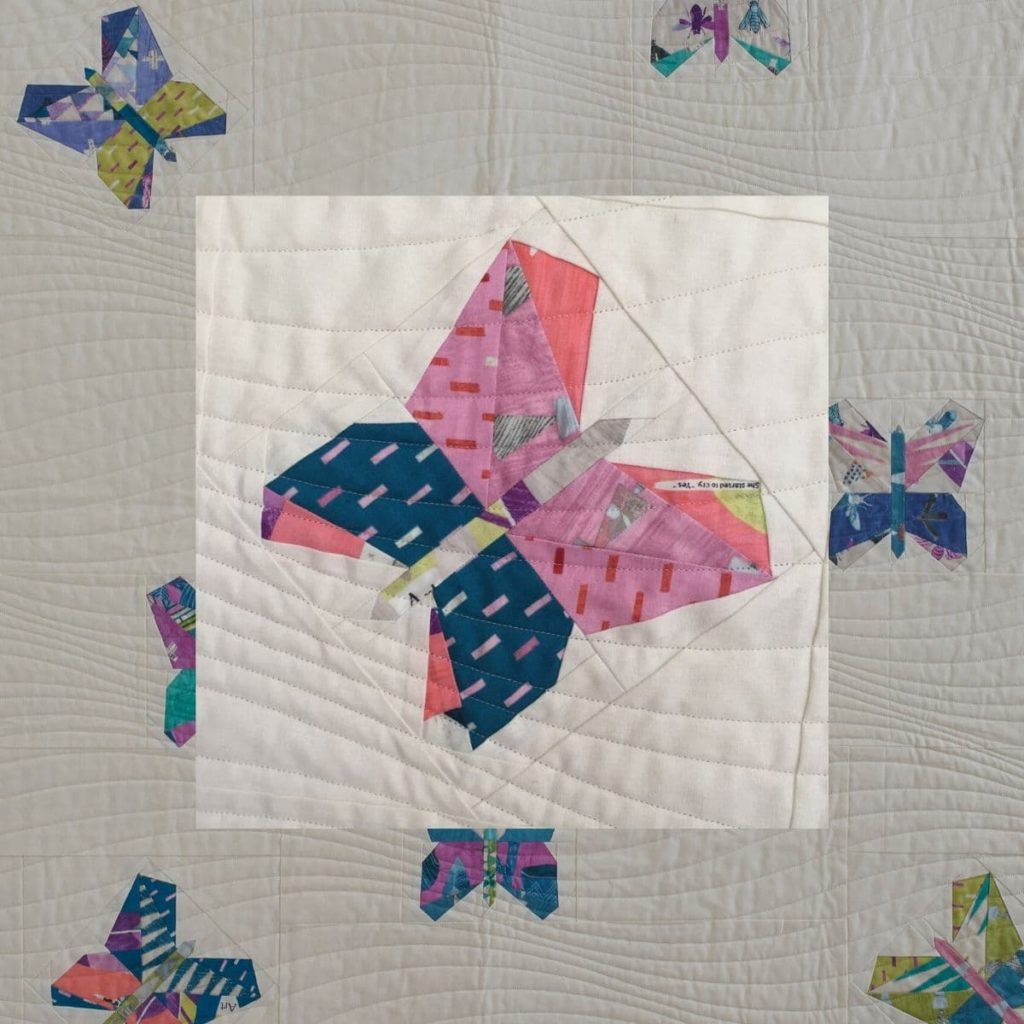
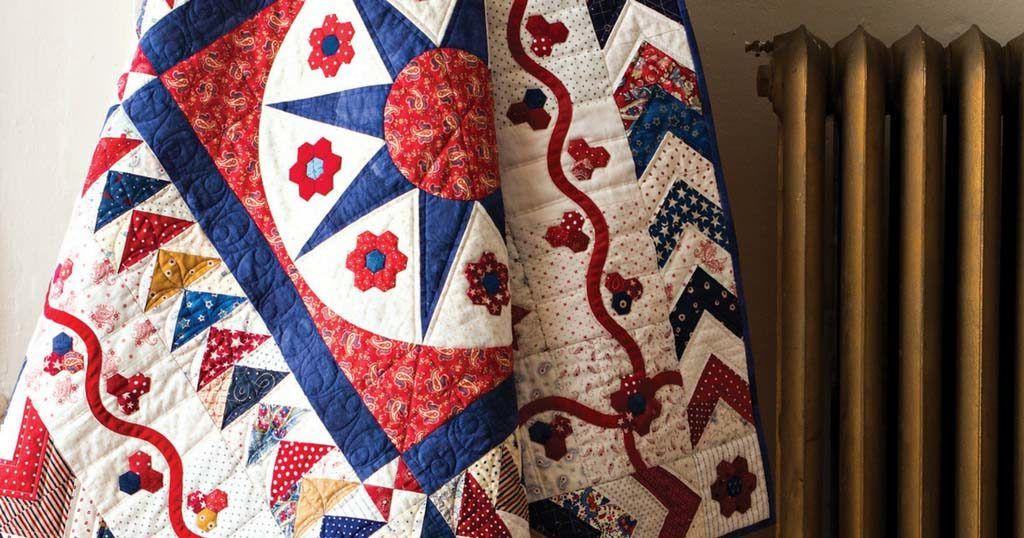
As a bonus, you’ll learn Jemima’s newly created butterfly quilt block technique. You’ll receive the beautiful Butterfly Release Quilt pattern free with the course. Jemima shows you how to offset your butterflies so they look like they are flying right off the quilt!
Jemima will guide you step by step through this process to give you the confidence to try this technique for yourself. Once you have mastered Jemima’s foundation paper piecing technique, you won’t hesitate to create quilt blocks with intimidating points ever again.
In this lesson below from the workshop, Jemima teaches how to use your sewing machine for FPP and preparing/printing templates – ways to do this and then how to prepare the templates ready for sewing.
Jemima Flendt:
Organizing your sewing area and getting set up for foundation paper piecing really does make the whole process a lot easier. I’m going to take you through now some of the things that you’ll need to get yourself set up and organized so that it really helps with that flow of the technique, so that you’ll be able to keep going when you’re sewing. We talked earlier about the type of needles that you’re going to need, and these are size 80 or 12. These are really a great size needle. They’ve got the right size eye on them. You’re going to need probably a spare packet on hand. When you’re sewing through the paper, your needles will become dull, so having some fresh needles on hand does become important. Also, especially for when you’re going to be sewing your fabrics together, you want to put in a nice, fresh needle into your machine so that you don’t have any snagging or pulling on the fabrics that you’re using.
When you’re foundation paper piecing, the stitch length of your sewing is actually quite important. You can see on the example that I’ve got here, you’re going to take your stitch length down on your machine to about 1.5 or 1.8. This really helps to give your stitch great stability because you’re going to be tearing the paper away from the stitching. It also really helps to give that fabric a great line of sewing that’s nice and easily seen as well.
The other important thing when you’re sewing your stitching line is to actually backstitch the beginning and the end of your sewing line. This helps to reinforce the start and ending of your sewing so that when you actually tear away the paper, you’re not going to have fabric that’s going to pull away from the stitching.
On the machine, we’re going to put an open toe foot. You can see here with the open toe foot that it really does have that nice, easily seen space so that your stitching line can be nice and straight. If you haven’t got one of those, they’re a great little tool to have for your sewing today with foundation paper piecing.
Also, when you’re foundation paper piecing, I actually have two rotary cutters at home that I use for this. One I use for cutting up my fabric, which has a really nice sharp blade in it, and I also use a second rotary cutter which is a dedicated one just for paper. Because we’re going to be cutting out our paper patterns or paper templates, you’re going to need a rotary cutter that probably hasn’t got as sharp a blade in, so you can reuse also the blades from your fabric rotary cutter into your dedicated paper cutting rotary cutter.
The other tool that is really helpful that you may not have come across before is an Add-A-Quarter ruler, which as I said before, does have that nice little ridge along the back end of it so that when you’re actually folding your fabric and your paper back from each of the steps, it’ll allow you to actually nicely cut and easily with your rotary cutter.
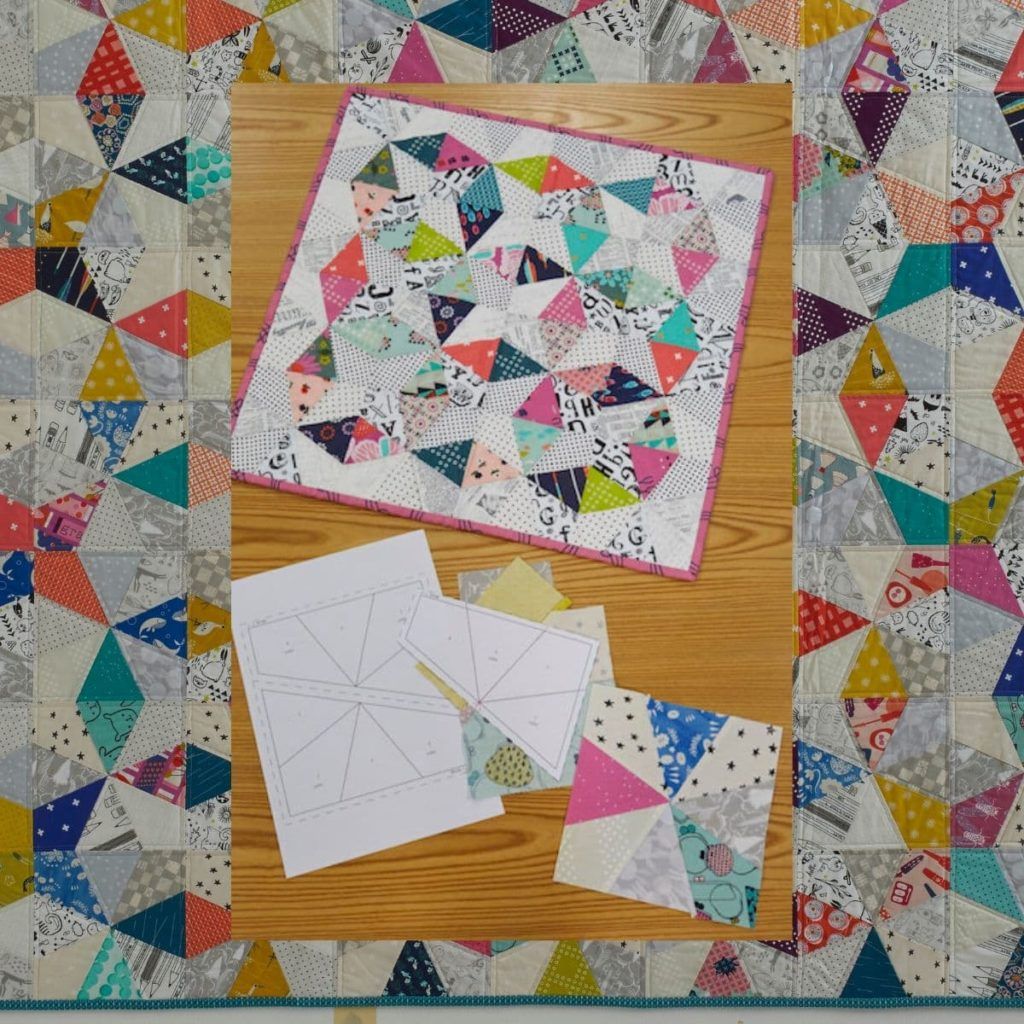
You’re also going to need your paper templates. Now, when you’re foundation paper piecing, these can be easily printed off from home. In this one, you’ll have this available on the download for you to be able to do that at home. You’ll need to actually print off your paper patterns as is instructed, and then we’re going to show you how now to actually cut your paper template up.
When you’re taking your paper template that you’ve got printed out, you can see on here that there are numbers and letters and words, which are really helpful in actually working through the process. You can see here we’ve got two actual separate blocks, which become the final block together. They’re both printed on the same page. You’ve got on here, you’ve got solid lines and you’ve got these dotted lines, which we’re going to cut along for our foundation paper piecing pattern.
From here, you can see that once you’ve got your paper all printed out, you’re going to take your paper rotary cutter, and you’re going to take your ruler, and then what you’re going to need to do is to cut out your paper template. Let’s take these to the side. Once you’ve got this printed up, you can see here you’ve got some perforated or some dotted lines around the outside and one through the center. To prepare your paper template, what you need to do is, using your rotary cutter and your ruler, you’re going to cut those out along that dotted line. Using that cutter, you’re going to need to do this for all of your paper templates.
After you’ve finished cutting out your side pieces, what you’re going to do then is take the paper and turn it to cut through that center or that diagonal. From there, you’ve then got your two paper templates that are going to be used for the block. When you’re printing these, you can do that on your printer at home. You can easily download the pattern template to do that. Sometimes when you’re making lots of copies of a particular pattern, you may like to take it to your local copy service to be able to print out lots of them if you’re going to be doing that.
What you’re going to need to do now for homework is to prepare your paper pattern templates, and get yourself all set up with your equipment, ready for us to start sewing and for me to show you how to do your foundation paper piecing.
Register today for Foundation Paper Piecing Made Easy with Jemima Flendt online interactive Workshop. The workshop runs 9/10 to 10/8. Registration closes 9/24. Save $10 when you register early with code: FPP10 – expires 9/10.


Join the Conversation!