Fusible Appliqué: Learn the Basics and Ease into Happy Stitching

Whether traditional or modern or somewhere in between, appliqué quilts have long been admired by quilters of all kinds. Fusible appliqué uses a paper-backed, double-sided adhesive to bond appliqué shapes to a background fabric. Once the appliqué shapes are in place a variety of stitches can be used to finish the raw edges. Fusible appliqué is great for quilters new to appliqué, and those who like using the many wonderful features in today’s sewing machines. Simple appliqué blocks can be fast, easy and great for quilts that will get a lot of use, such as baby and toddler quilts. Fusible appliqué is also great for very intricate designs because the stabilization provided by the paper-backed adhesive allows you to cut and stitch very precise motifs. Plain or fancy, here are some tricks to get started.
Types of Fusible Materials
There are a wide variety of adhesive products available for today’s quilter. The best way to determine which one will work for your project is to think about what you want your finished project to look like and how it will be used. If you are making an art quilt or wall hanging, you might want a product that keeps the cut edges very crisp. These quilts don’t necessarily need to be soft so you might not care how stiff the product is.
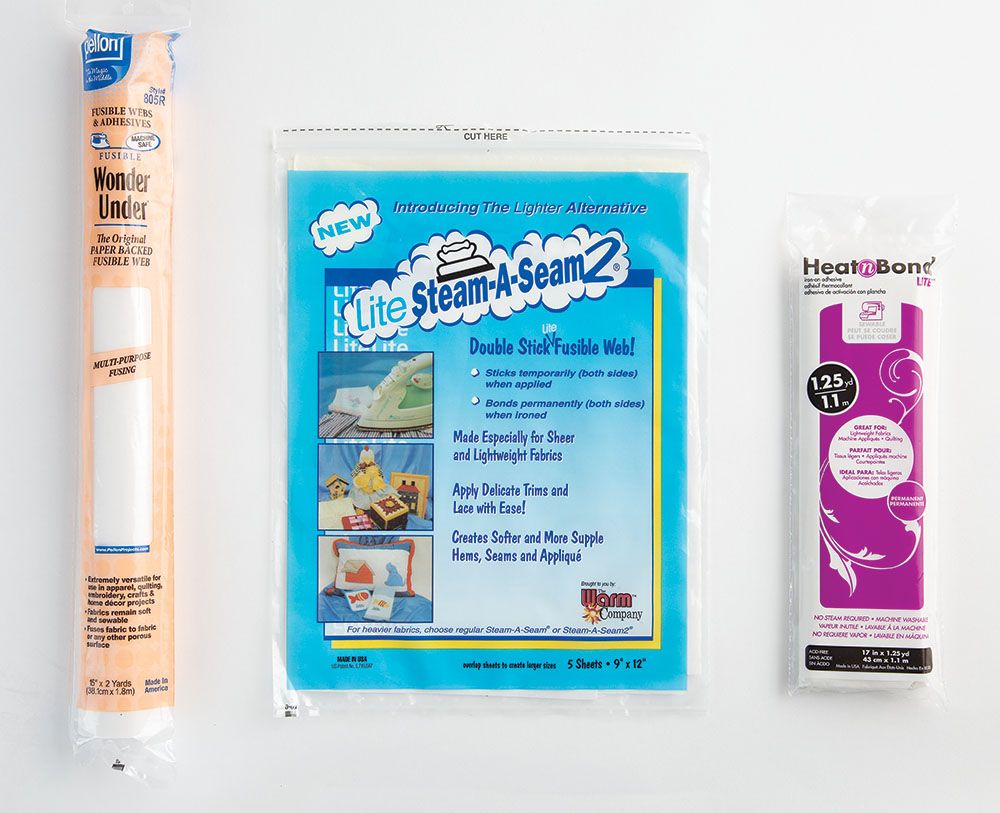
For bed and baby quilts you might want a softer-feeling product. Some quilters prefer the edges of their appliqué to not fray, some might want that slightly frayed look. The type of project you are making will determine which product you need so be sure to experiment and find what works best for you. It’s also important to follow the manufacturers’ directions carefully. Some of the products I recommend are Heat-n-Bond Lite®, Pellon Wonder Under®, and Lite Steam-A-Seam 2® from The Warm Company.
Fabrics
The types of fabrics you use will also have a big impact on your fusible appliqué. Batiks, with their tight weave, do very well with fusible appliqué but can become stiff if there are too many layers of fabric and webbing. Check out these low-volume batiks for your next appliqué project!
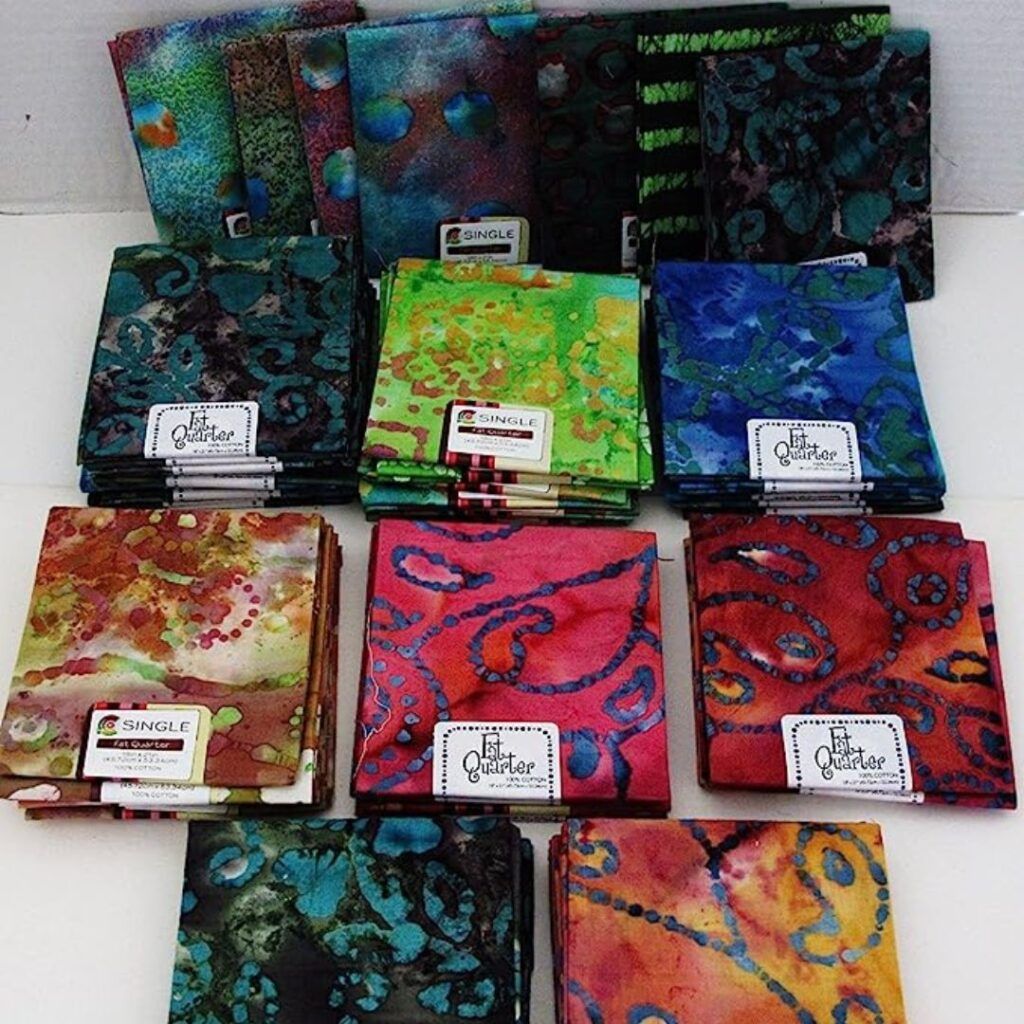
Loosely woven fabrics like ginghams and plaids can be tricky because the edges are susceptible to fraying. It’s a good idea to purchase extra fabric when planning an appliqué project so you can try various fabric and webbing combinations to see what suits your project.
Needles
Fusible webbing can gum up needles if it is very stiff or improperly applied. Microtex needles from Schmetz are a great choice for stitching your fusible appliqué. It is also helpful to stop stitching periodically and clean your needle with alcohol if you are having trouble with gummed-up needles.

Thread
One of the many advantages of fusible appliqué is the variety of threads that can be used. You have an opportunity to choose thread based on how you want it to appear on the appliqué. If you want your stitching to disappear into the appliqué, choose an invisible thread or a fine matching thread to use in your needle.

If you want to add a little pizazz to your appliqué, choose a contrasting thread color or one of the many beautiful specialty threads on the market today. A good neutral cotton thread is fine for the bobbin. Be sure to make a practice sample so you can adjust your thread tensions accordingly. You might find it helpful to reduce your top thread tension to prevent your bobbin thread from showing on the top.
Stitches
The variety of stitches available in today’s sewing machines provides another wonderful way to get creative with your appliqué. A simple zigzag or blanket stitch is a great choice if you are new to appliqué. Once you have the feel for stitching around your shapes, try experimenting with some decorative stitches.

A straight stitch can be a fun choice because it will allow the edges to peel up slightly and give a bit of dimension to your design. Another fun technique is to “free-motion” stitch your appliqué down. This is much like free-motion quilting where you lower your feed dogs and “scribble” over your edges. With fancy stitches and threads, the sky’s the limit!
The Basics
Now that we have all that out of the way, let’s get sewing.
1
Trace your appliqué shapes onto the paper side of the fusible web you have chosen.
2
Cut these shapes out roughly. If you are concerned with stiffness, cut some of the fusible web from the inside of the shape.
3
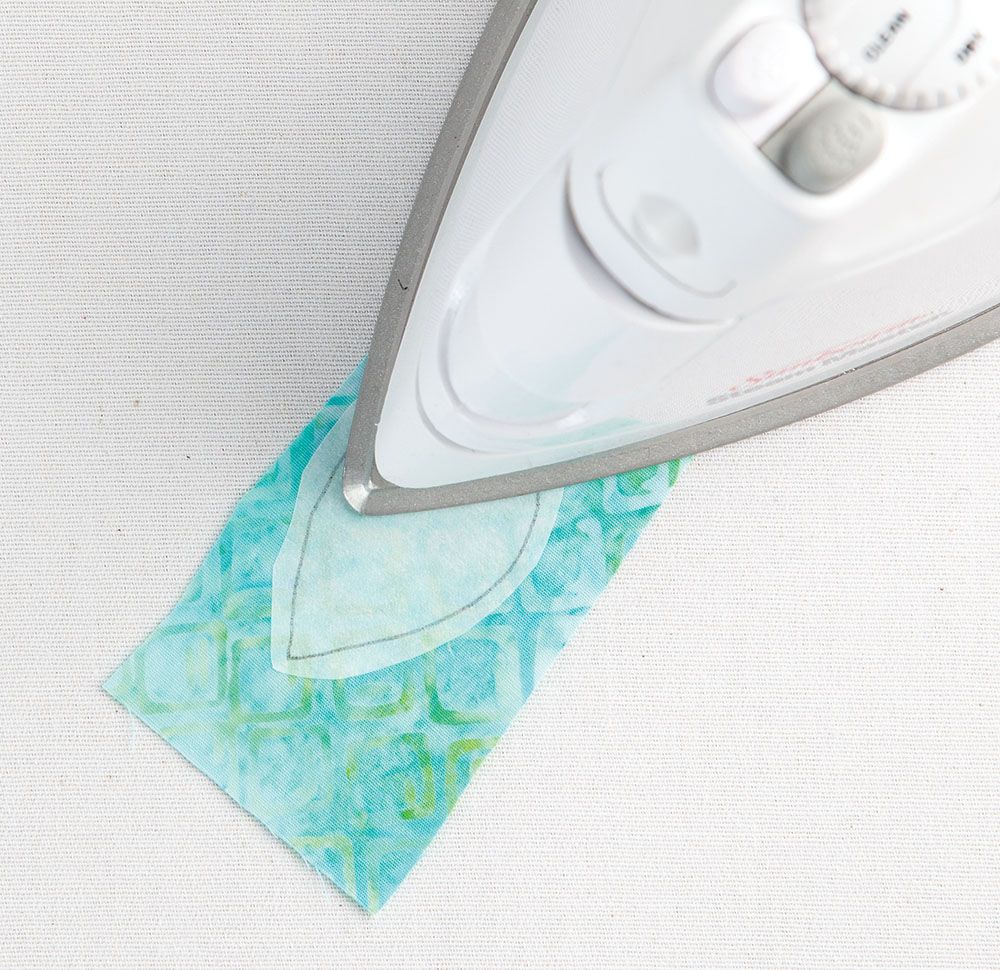
Iron, fusible side down, to the wrong side of the fabrics according to manufacturers’ directions.
4
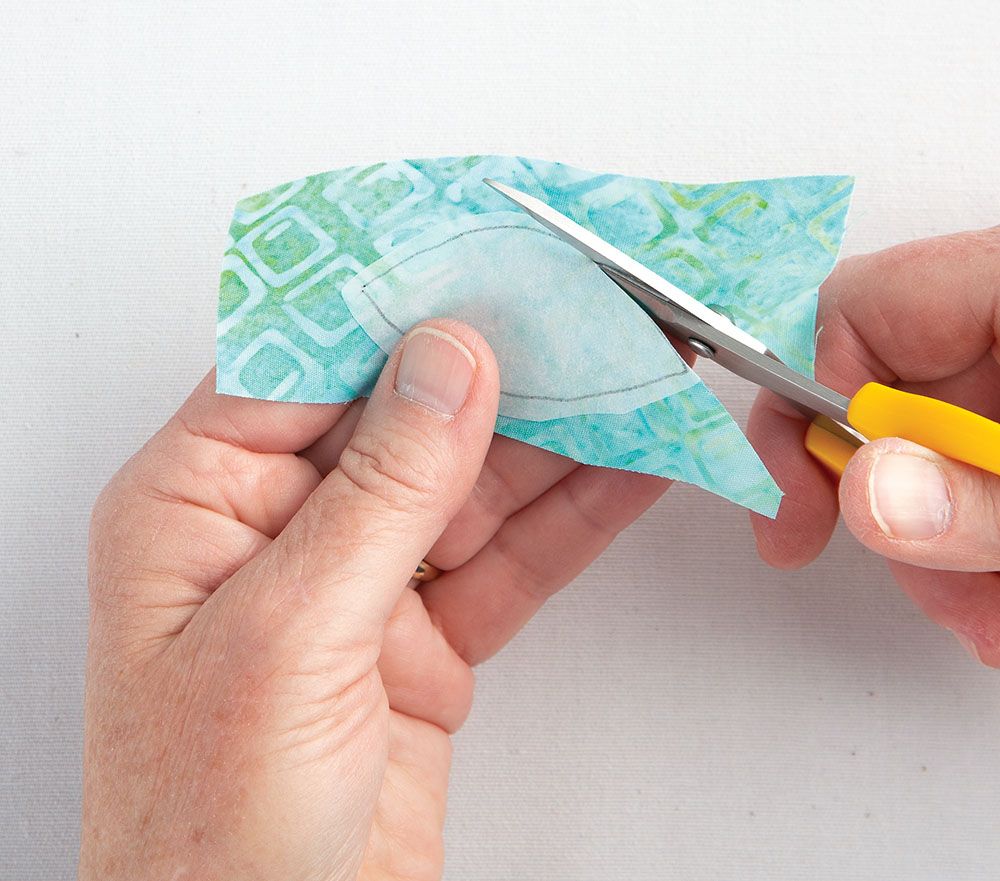
Cut these shapes out on the drawn line.

5
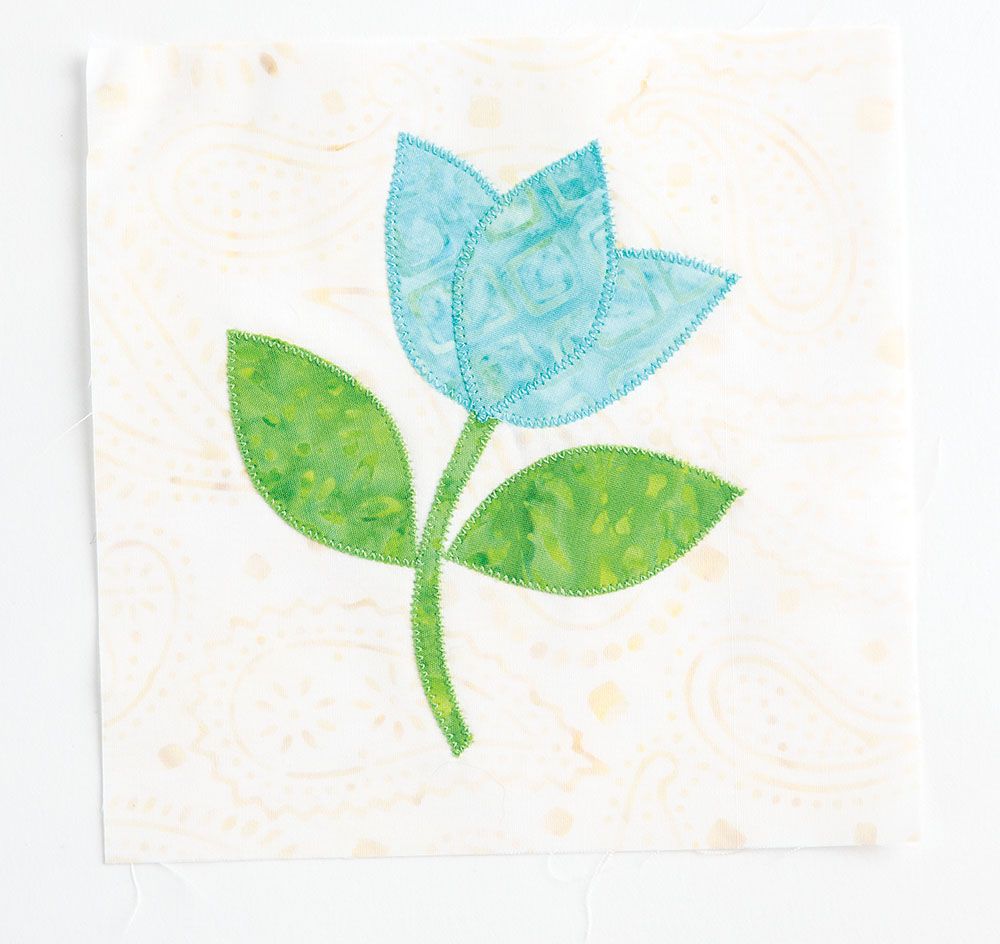
Place the appliqués on the background fabric according to the diagram and fuse in place.
6
Stitch in place using a machine zigzag or blanket stitch to finish.
Ready for More Fusible Appliqué Fun?
Looking for some projects to start your fusible applique journey? Check out Flip Flop Quilts: Fusible Applique Designs from Quiltmaker Magazine for some great ideas. And don’t forget to subscribe today so you don’t miss out on more great tips. And be sure to share your quilty creations with us on Instagram, Facebook, or the comments below!
Enjoying this article? Sign up for our newsletter!
*This article contains affiliate links that helps us earn a small commission (at no additional cost to you). We’re grateful for your support!






I love to see how to appliqué, I have a project that I want to use it and it sounded so complicated.
I have tried a number of times to access the “winter-themed free pattern”. Every time, I get a message saying page not found. Can this be fixed or has the offer expired? MD
The pattern link is not working. It comes back as 404 page not found.
I would really like to try the applique of the Winter Themed pattern for free, per comment above, but am unable to locate the download. Could you please advise how I can obtain this pattern. Thank you for your assistance.
Respectfully
Monica Kovach