How to Hand Sew: Our Best Tips, Tricks, and Products
Join Lynn Krawczyk as she explores the beauty and simplicity of hand stitching as a form of meditation and creative expression. We will examine the utilitarian stitches that form the foundation of many distinctive embroidery techniques and how they can be used to create intricate and ornate designs. So let’s delve into the world of fiber arts and learn how to hand sew along the way!
An added bonus? Learning how to hand sew can greatly benefit your quilting practice. To start, hand stitching gives you more control over your stitches so you can easily manipulate the fabric to create different shapes and patterns. It also allows you to be more precise in your work, which is particularly important when piecing together small or delicate pieces of fabric. So by learning how to hand sew, you can take your quilts to the next level while incorporating a personal touch into every stitch!
Let’s Learn How to Hand Sew These Simple Stitches
My first exposure to fiber arts was learning how to hand sew. I remember being in awe as I watched people stitch—not only because of the beautiful work they made but also because of the calm and serenity they exuded. Hand stitching has become a form of meditation for me, a place to rest my mind after a long day and to connect with my creative spirit. This art form fascinates me because it is as beautiful using utilitarian stitches as it is using complicated and ornate designs. I lean more toward utilitarian stitches.
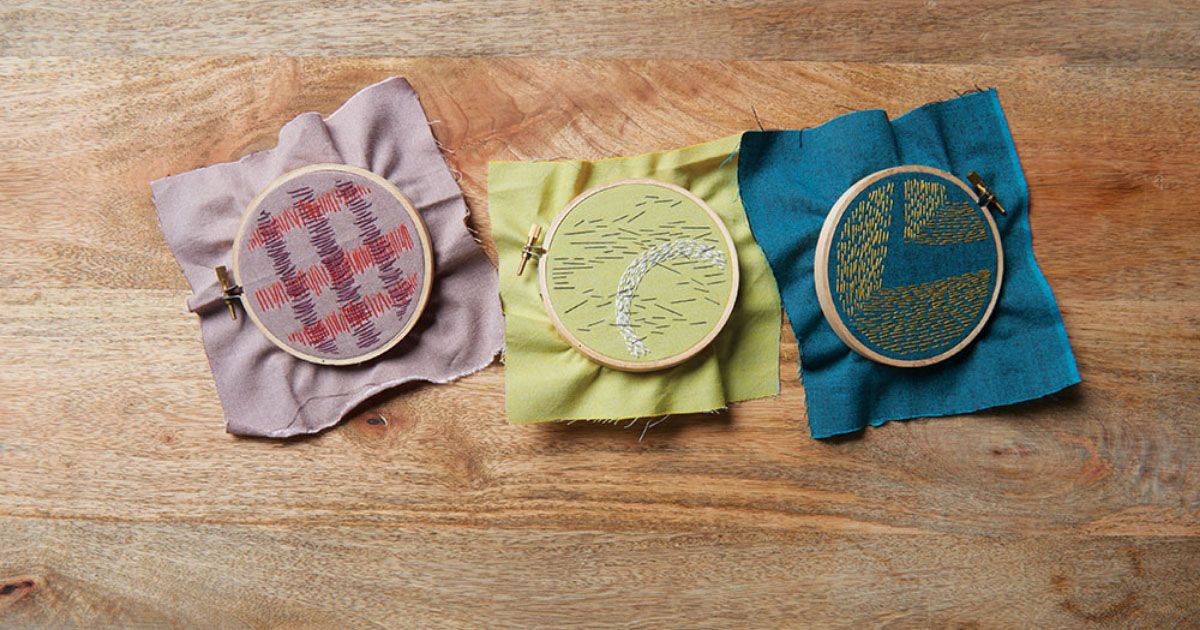
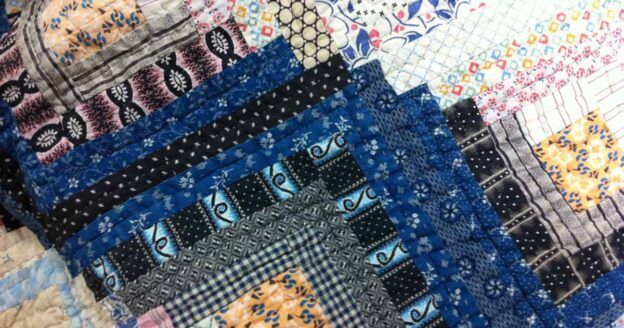
I love the simplicity and that something so common can create something so beautiful. I often use simple embroidery in my work as the sole source of surface design. Many distinctive forms of embroidery such as kantha quilting and sashiko depend upon the straight stitch or running stitch. It is that simple stitch we are going to use to create pattern with our hand stitching.
Humble But Mighty: The Straight Stitch
The straight stitch is exactly what it sounds like — a straight stitch. Come up through the fabric with your needle and thread and back down through the fabric a short distance away in a straight line.
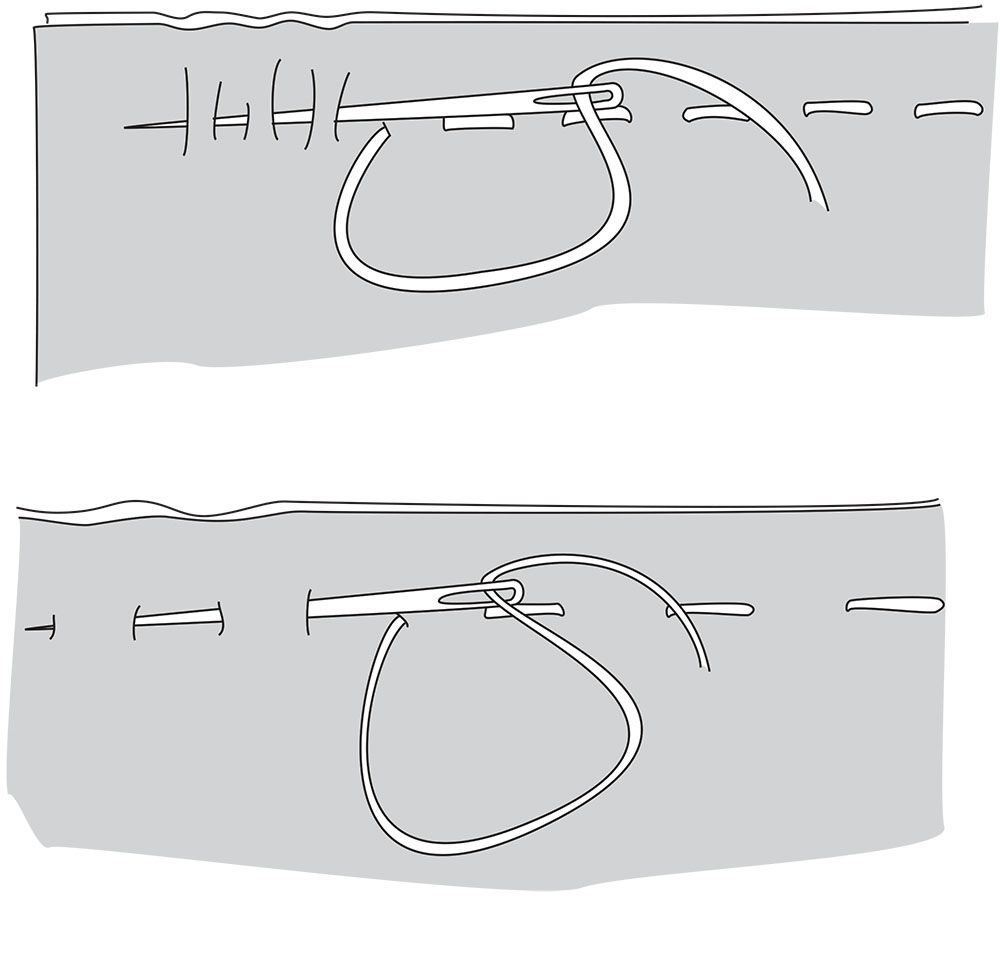
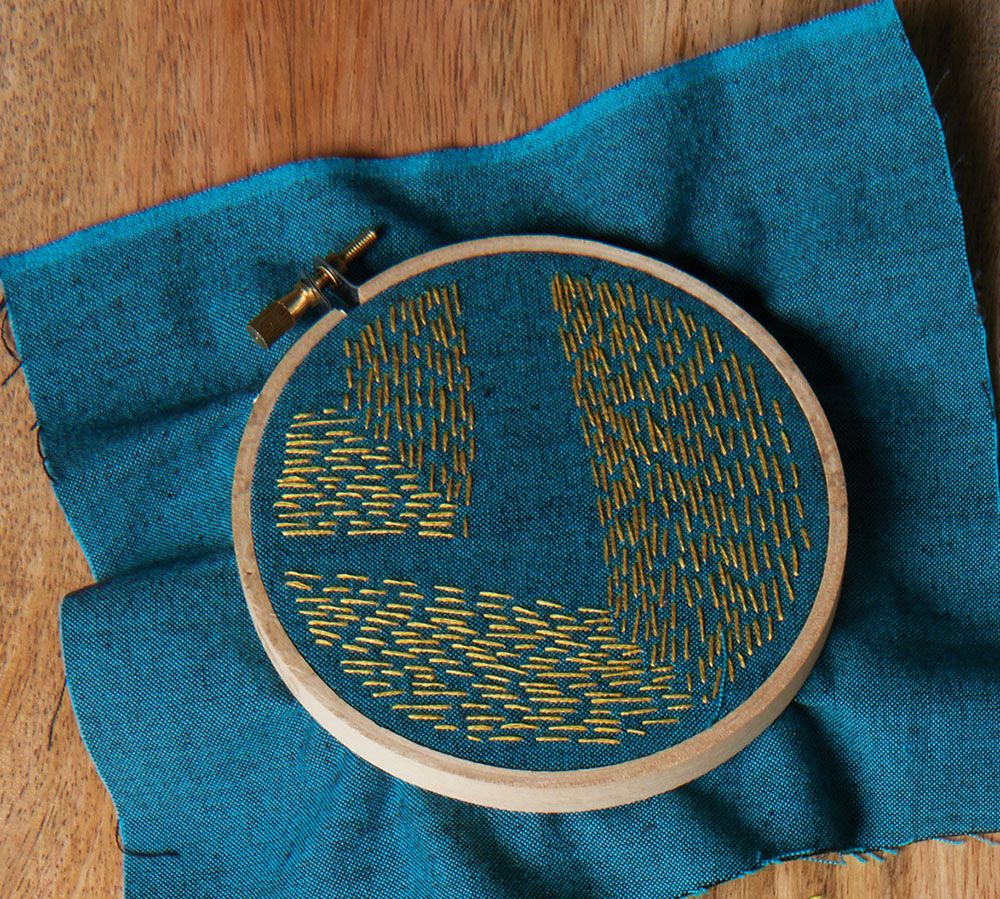
You can vary the length of the stitch, the density, and you can even take multiple stitches at one time if your needle is long enough. To do so, go up and down through the fabric a few times before pulling the thread through. Straight stitch is the foundation of running stitch, backstitch, stem stitch, and cross stitch, just to name a few. In the following surface design examples, all I used is the basic straight stitch.
Get Started: The Basics
1. Use an Embroidery Hoop
Embroidery hoops are nifty little inventions that give good support for stitching. They can, however, cause unwanted mischief if not used properly. To use, separate the inner (smaller) and outer (larger) hoops by loosening the screw at the clamp. Don’t remove the screw, just loosen until you can pull the two pieces apart. Lay the fabric over the smaller hoop, then position the outside hoop over both and retighten the screw.
✓
The fabric in the hoop should be taut. Tug lightly around the edges until there is no slack left. It is easy to stretch the fabric too much, so less pulling is better.
✓
Unless you plan to use the hoop as a frame for your art when it is done, don’t store your work in the hoop.
✓
Wrap the inner hoop with a narrow piece of fabric or ribbon to help minimize the chances of the hoop leaving marks on the fabric.

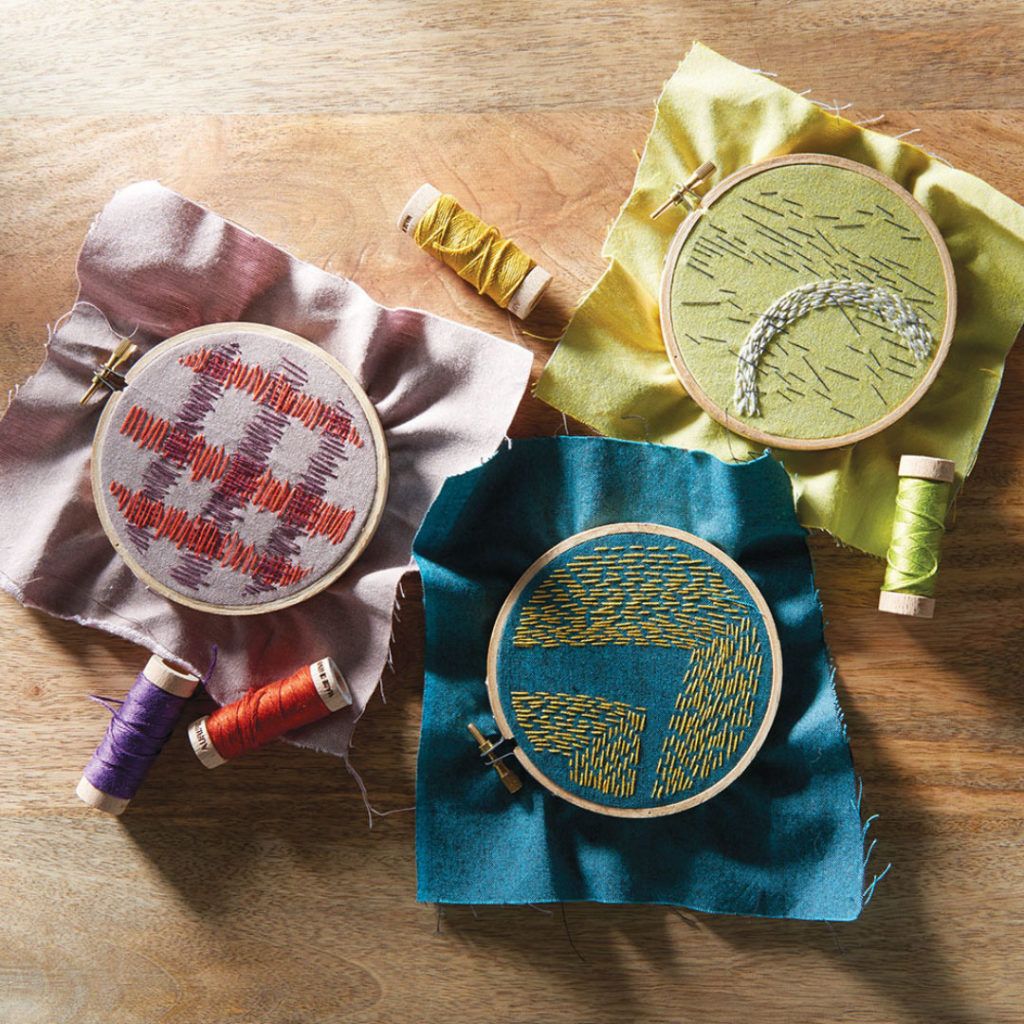
2. Use 6-Stranded Floss
The samples for this article were all made using 6-stranded cotton embroidery floss from Aurifil. This thread is a staple in my stitching because it offers an incredible amount of control over the weight of the stitch. Do you want figure out how to hand sew super thin stitches? No problem — use one strand. Want lots of dimension with yummy texture? Use all six strands at once. Most commonly I use two or three strands of floss. This gives the effect of size 5 to 8 perle cotton thread.

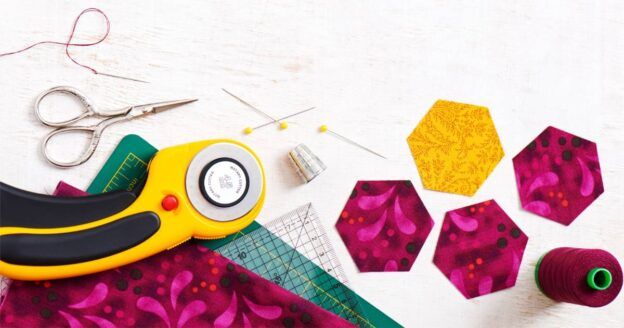
3. Choose the Right Needle
Choosing the right embroidery needle is like picking a shade of white to paint your living room walls—there are so many options! For the projects in this article, I used a size 5 embroidery needle because the small eye creates a much smaller hole in the fabric. It can be a little fussy when using all six strands of floss (meaning a bit harder to pull through the fabric), but it doesn’t create unsightly holes.
✓
The size and type of needle depends on the thread and the fabric in the project. Thick thread requires a larger eye and lightweight fabric requires a thinner needle.
✓
Test the needle on a piece of scrap fabric before beginning. You will be able to see right away if it is the right needle. It should be easy to thread and pull through the fabric without leaving a visible hole.

4. Control Your Thread Tension
The beauty of using an embroidery hoop when learning how to hand sew is it makes controlling tension much easier. You’d have to put some serious effort into distorting the fabric with tight tension. That being said, it is not impossible. How to avoid using super-tight tension — and making your project look strangled — is well worth discussing.
✓
Only pull the thread until it lies flat on the surface of the fabric. If the thread is pulled hard, it will likely cause visible holes.
✓
If you want to stitch on lightweight fabric, layer it with a medium-weight fabric to make the tension easier to control. Even if you have consistent tension, it can be challenging to create controlled stitches on lightweight fabric.

Be Sure to Make Your Mark
I like to freehand my stitching designs, meaning I just start stitching and let the design grow. If that’s just a bit too open ended for you, consider using a fabric marking pen or pencil. But before you start, consider this:
✓
Always test the marking tool: find a corner of the fabric that will not be used and draw a couple of lines on it. Then, try to remove the mark according to its directions. There is nothing more frustrating than not being able to remove a mark after all your hard work.
✓
Keep in mind chalk marks can rub off during normal handling of the project, especially if it is something that will be tossed in a bag.
✓
Always keep a reference drawing of the marked design so you can draw it again if needed.
Tips for Working With 6-Stranded Floss
✓
Cut a length of floss 12″–18″ long. Short thread lengths reduce tangling and wear when stitching.
✓
Always separate the strands before stitching, even if you are using all six strands. The strands are held together with a light twist so unless you separate them, you have no control over how flat your stitches lie. To separate the strands, pinch one end lightly between your forefinger and thumb. Pull the strand from the length and allow the remaining strands to bunch up behind the pinch point as you separate it from the others. Repeat for as many strands as you are using.
✓
Sometimes, even when you’ve used a short length of floss, you can get slipknots in your thread while stitching. If this happens, don’t panic. Set your project down, put the tip of the needle through the loop, and gently pull on one side of the thread. If the knot does not budge, pull the other side. The knot will often release.
Sanity Savers When Learning How to Hand Sew
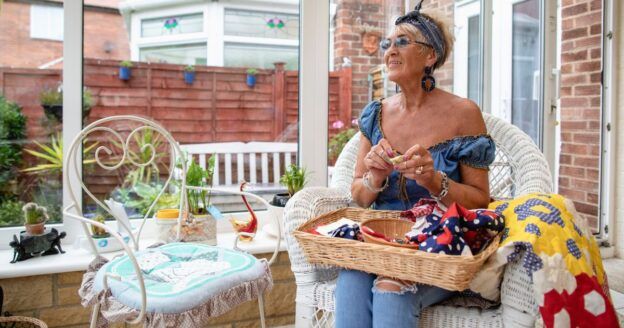
Mini-hoop pieces are a great way to experiment with different stitching designs. Sometimes it is just nice to make something and finish it up before gray hairs start to set in. These are also great portable projects — I call them Sanity Savers — to keep your mind still when you have to wait longer then expected for appointments or need a break in your day. I hope you will find the same solace in hand stitching that I have enjoyed for all these years.

About the Author
Lynn Krawczyk is a surface design artist from Plymouth, Michigan. She has written for Quilting Arts and Cloth Paper Scissors® magazines in addition to appearing on Quilting Arts TV.
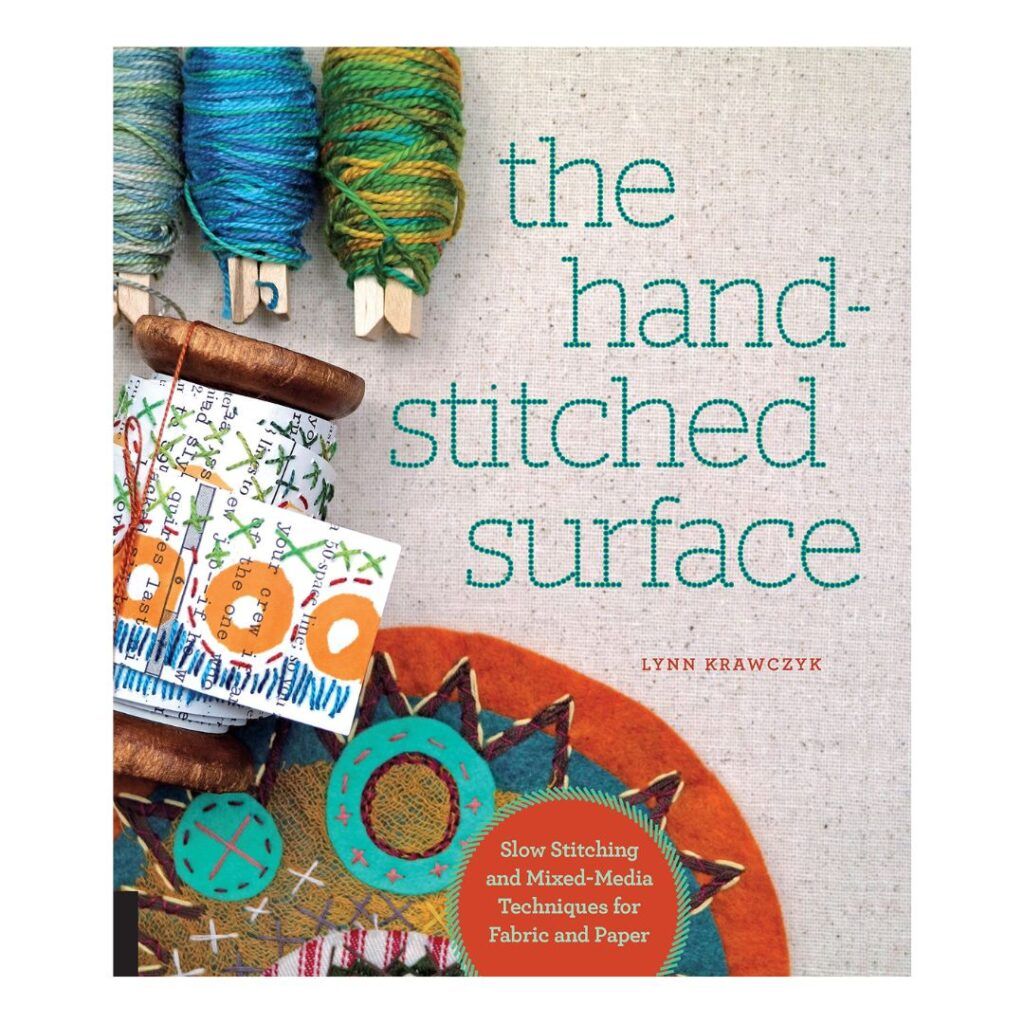

Lynn is the author of Intentional Printing: Simple Techniques for Inspired Fabric Art and The Hand-Stitched Surface. Click here to visit her website and learn more. For many more articles like this, subscribe to Quilting Arts Magazine today!
Enjoying this article? Sign up for our newsletter!
*This article contains affiliate links that helps us earn a small commission from purchases — at no additional cost to you. We are grateful for your support!


Join the Conversation!